
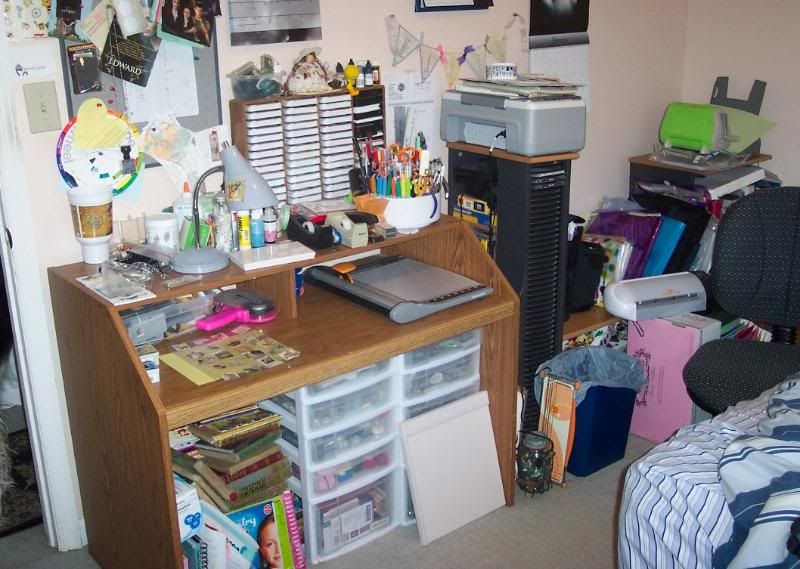
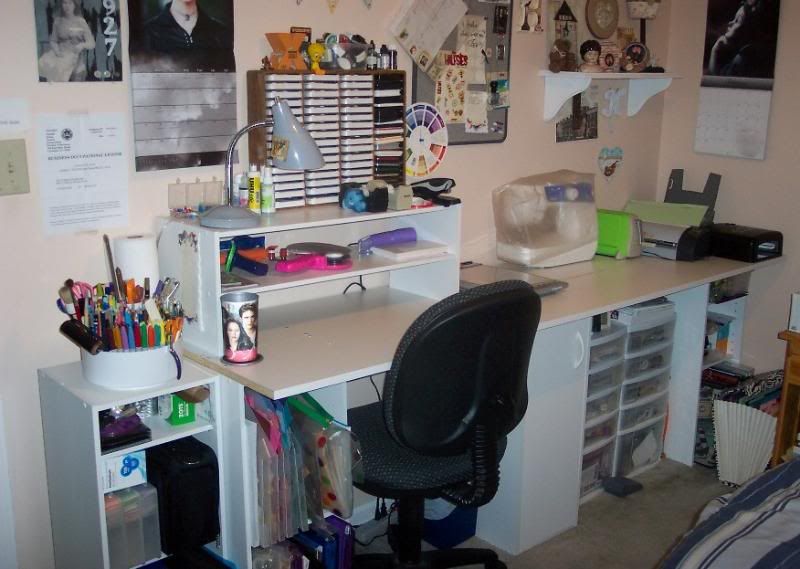
Since we got our house almost 7 years ago I’ve been using half of our guest room as a “studio”, using one of my husbands small old computer desks and an unused entertainment center as my work space. It was not ideal, I made it work but of course I wanted something a little nicer and better organized. For a long time I looked at different computer desks, shelves, cabinets, etc. and finally came across what I thought would work for me and my limited space. I wanted a long desk top space so I could keep all my big tools (like my Cuttlebug, sewing machine, Stampmaker, etc.) out all the time. I found if they were packed away I didn’t use them as much having to drag them out and make space on my tiny desk for them. I also needed lots of open storage space for cardstock, books, etc. What I finally went with were units made for closet storage, I got four shelf units (one with a door) and two long pieces of shelving wood which I laid over top of three of the shelf sets and screwed into the top. I added the other shelf unit at one end and on top of the desk a small double shelf. It’s surprising sturdy considering it wasn’t meant to be put together in this way. I’ve now got lots of desk room, lots of storage room (though I filled most of it up:)) and it all cost me less than $150! I’m so thrilled with it and find it’s so much easier to create now! Big thanks to hubby for all his help.
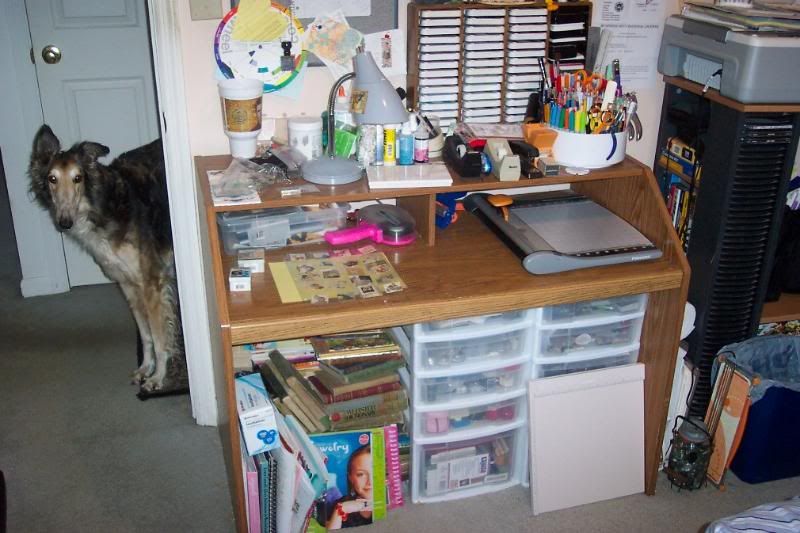
Now for some pics. This is my “studio” before:
Our dog Mahogany “Mommy, whatcha’ doin’?”:
and now this is how it looks………….
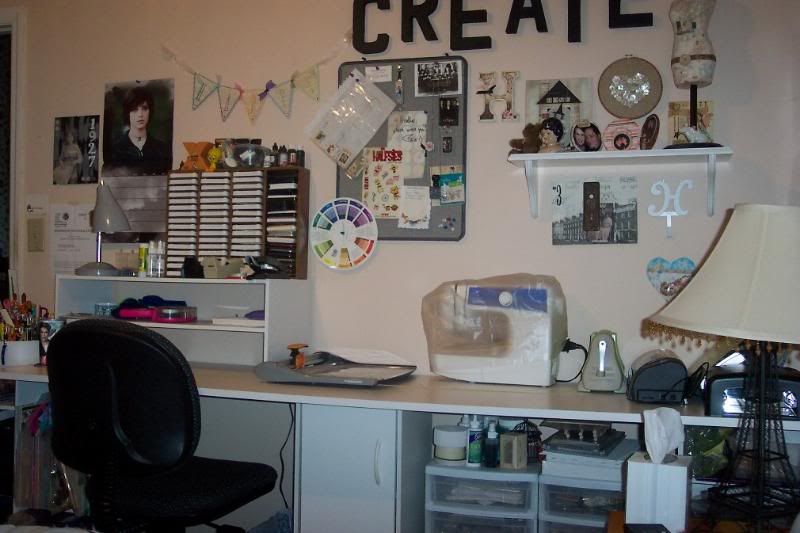
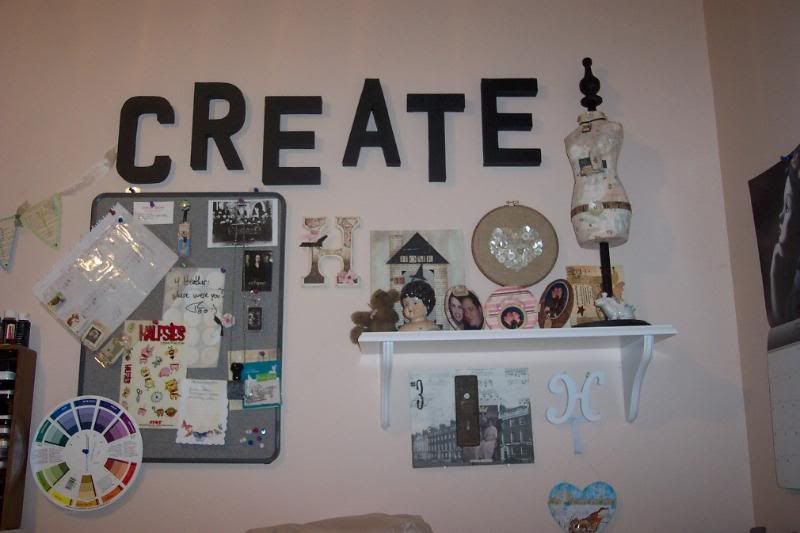
I added a shelf to display some of my favorite pieces, published items, etc. (thanks to my friend Marti for the “create” letters!):
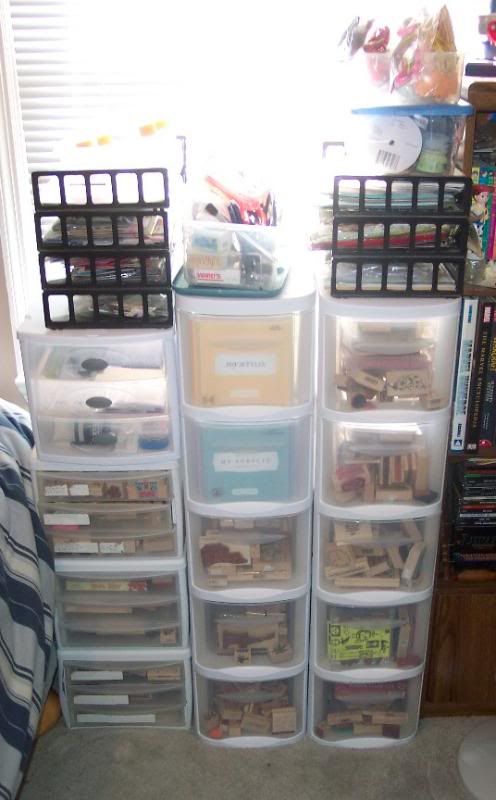
across the room is my stamp storage, plastic bins with pull out drawers:
extra points for those that noticed all my Twilight items, calendar, cup, trading cards 🙂
Tags: before and after, studio, work space