Posts Tagged ‘ACEO’
Tuesday, February 9th, 2010
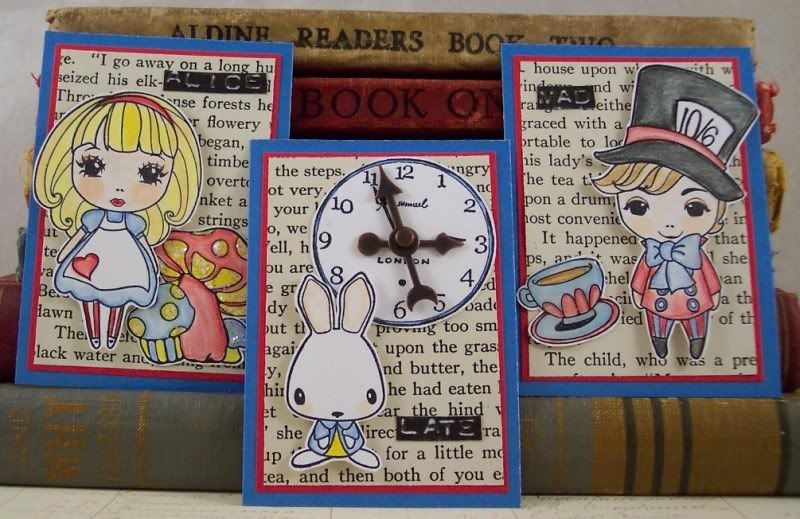
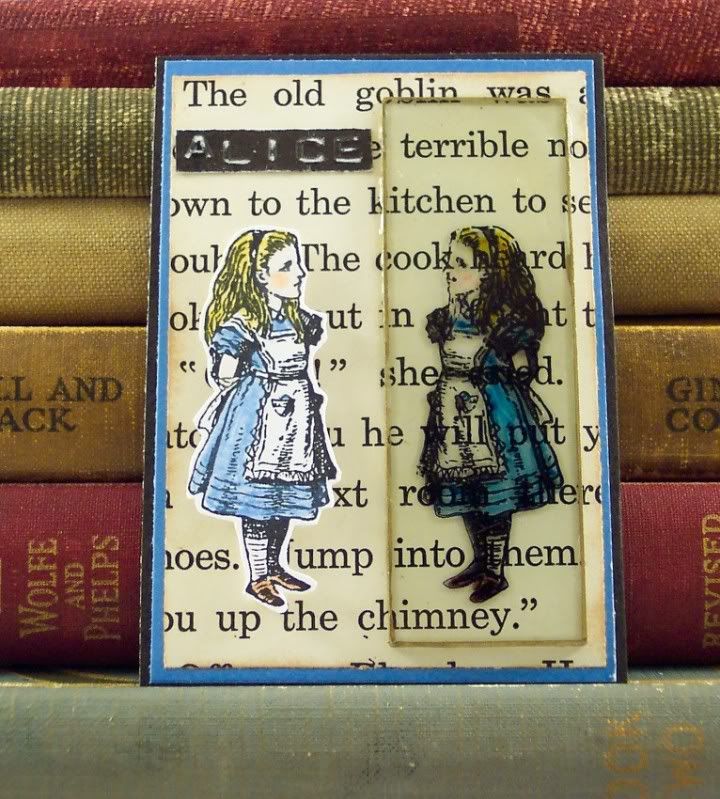
I recently got some adorable stamps from The Greeting Tree, they are really cute versions of characters from Alice in Wonderland and I thought they were the perfect size for art cards (2 1/2″ x 3 1/2″). Each character was stamped on white cardstock with black staz-on ink and colored using colored pencils and orderless mineral spirits for blending. I cut each out and added them to layers of vintage book paper and cardstocks. Plus I added a stamped embellishment to each, Alice got glittery mushrooms, the Mad Hatter got a glossy tea cup and the White Rabbit got a clock with movable clock hands (from Tim Holtz). I also ran a very thin strip of white core cardstock (from Close To My Heart) through my label maker and sanded them to make each card a name label.
Tags:ACEO, alice, art cards, ATC, colored pencils, lewis carroll, mad hatter, odorless mineral spirits, white rabbit, wonderland
Posted in ATC | 1 Comment »
Monday, September 21st, 2009
I just finished some fun art cards (atc or aceos measuring 2 1/2 x 3 1/2) for Halloween.
The first is a captured Halloween fairy in a jar, I stamped the jar on transparency and adhered it with tiny brads to vintage book paper and cardstock.

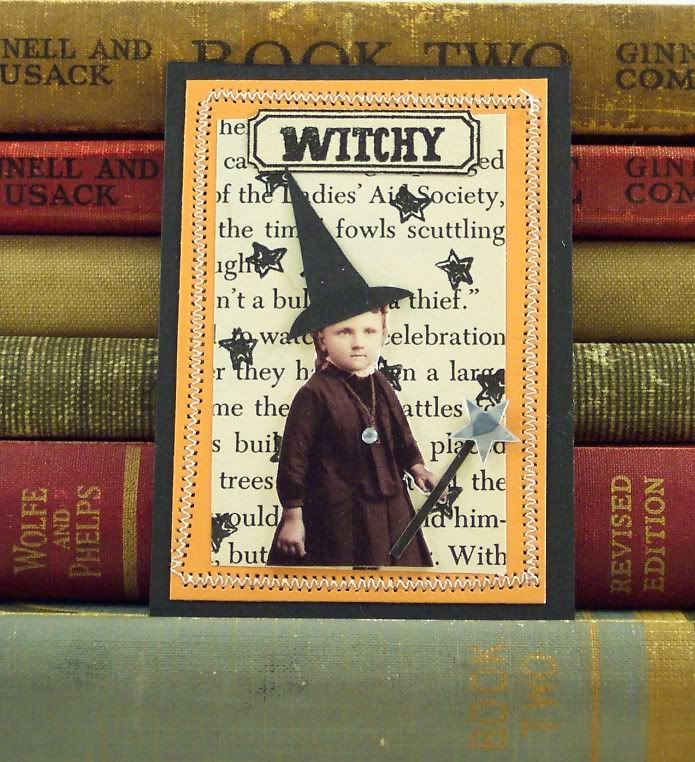
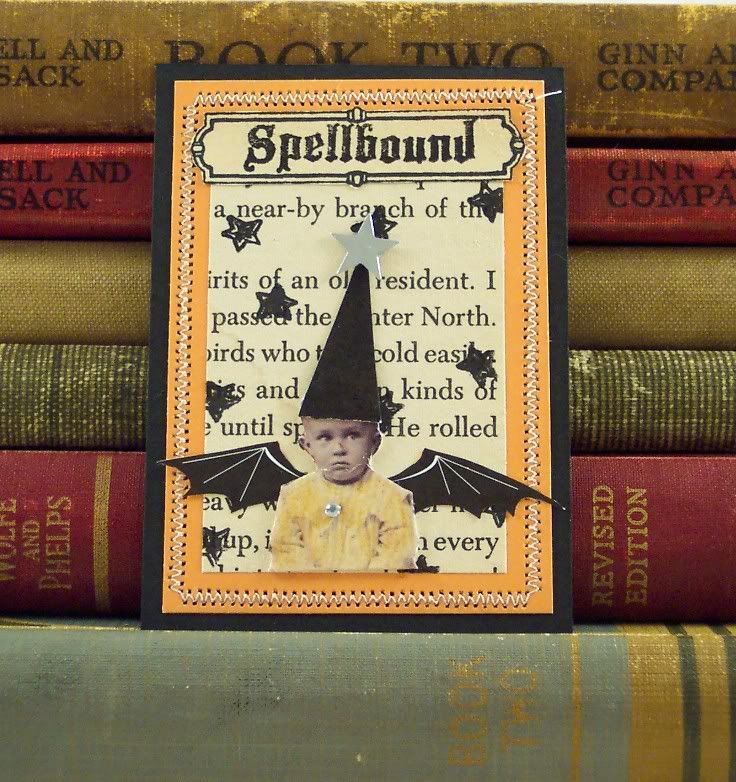
These next two use images from Tim Holtz’ Doo Dad line, I made the little girl a witch and the boy a wizard with bat wings, both have silver star and rhinestone embellishments and old fashioned stamped labels. They are on backgrounds of vintage book paper with stamped stars and orange and black cardstocks I sewed together on the sewing machine with zig zag stitches.
All of these cards are currently for sale in my Esty shop: http://www.PisforPaper.etsy.com
Tags:ACEO, art cards, ATC, black, captured, card, fairy, halloween, jar, orange, witch, wizard
Posted in ATC | 5 Comments »
Monday, June 15th, 2009
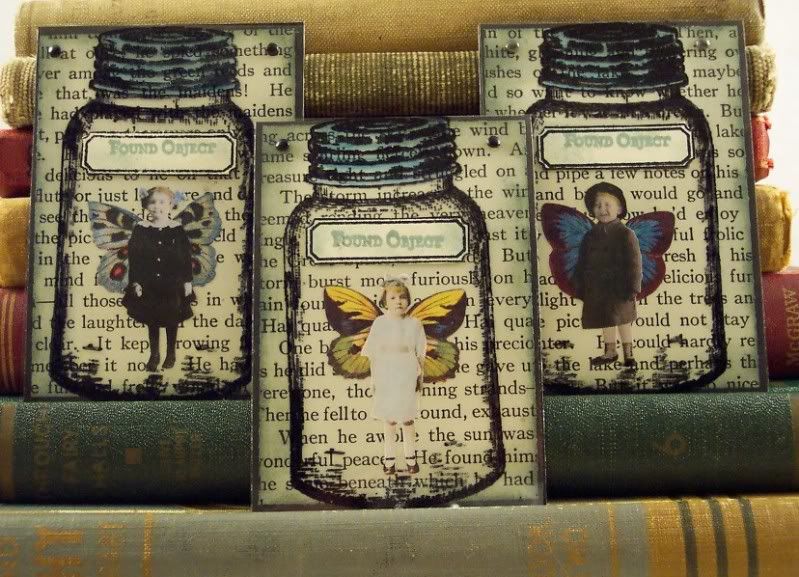
Here’s a group of Art Cards I did last week. I used my canning jar stamp and stamped it on transparency sheets and put a captured fairy underneath on the base of vintage book paper and cardstock, attaching the transparency with tiny brads. I also added an old fashioned label to the jars and stamped “found object” on the label. Simple but cute I think:)
Tags:ACEO, art card, ATC, captured, caught, fairies, fairy, jar, transparency
Posted in ATC | 4 Comments »
Tuesday, June 9th, 2009
Several years ago before I taught myself how to solder I used to make alot of jewelry with dominos, so I thought I’d try them again. Dominos are fun to work with but it’s important to remember that not all mediums will “stick” to the slick surface of a domino, some people soak them in bleach and/or sand them to give them a “tooth” to help mediums stick better but I guess I’m too lazy for that 🙂 and have never found a need to do it. I try to use permanent inks and markers such as Staz-On ink pads and Sharpie markers. Chalk ink pads work well too but need to be heat set (with a heat gun) to be more permanent. Dominos are inexpensive so it’s nice to play and experiment with them to find out what works well and what doesn’t. I also like to seal mine just to make sure all my hard work will stay for a long time since it’s something that will be used and worn. A clear spray sealant works well or any type of clear dimensional liquid (like Liquid Glass, Dimensional Magic, Crystal Lacquer, etc) works nicely too, they will give a nice shiny look over your artwork. Using permanent mediums also helps when you go to seal your domino because they will not react and possibly bleed when you apply the sealant.
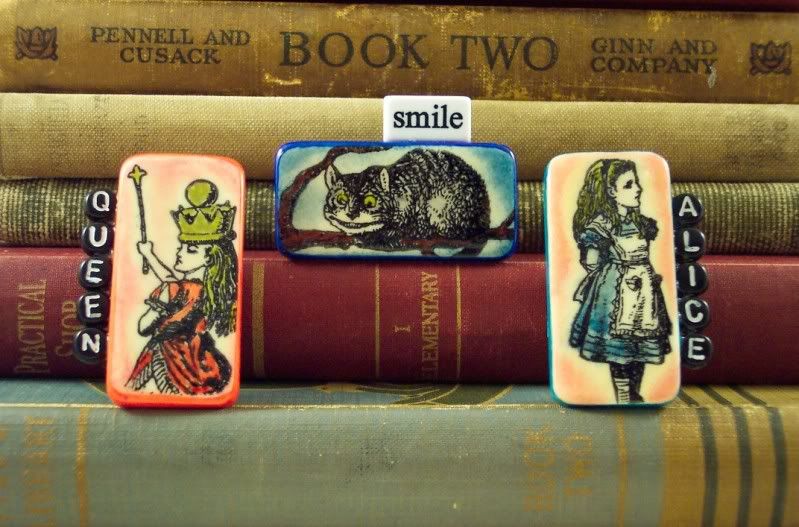
Here are a few pins made with Alice in Wonderland characters, I added alphabet beads along the domino edges and large pin backs on the back of each.
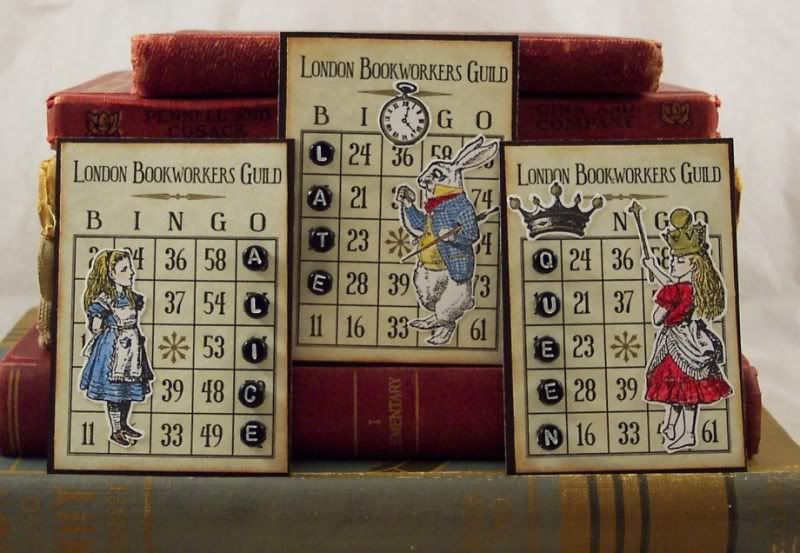
Also here’s a few more art cards using small bingo cards and those same fun black alphabet beads. This time I made them with Alice, the White Rabbit and Alice dressed as the Red Queen.
Tags:ACEO, alice, art card, ATC, bingo, domino, jewelry, pin, queen, rabbit, red, white, wonderland
Posted in ATC, Collage Jewelry | 4 Comments »
Thursday, June 4th, 2009
I belong to a mixed media artist group on Etsy called Melange and each Wednesday we have a challenge word and everyone makes an art piece based on that word. This weeks word is “Fly”, which happens to be a favorite word of mine, I use it often in my work. I made two pieces for the challenge, both Art Cards, using some really fun small bingo cards I bought at a convention a few years ago and some cool black and white alphabet beads. Be sure to visit the Melange Team blog : http://melangeonetsy.blogspot.com/ and click on the comments to visit my fellow artists blogs and see what they made for the challenge. Also please feel free to participate in the challenge yourself, you do not need to be a member, just link to your artwork in the comments section too.
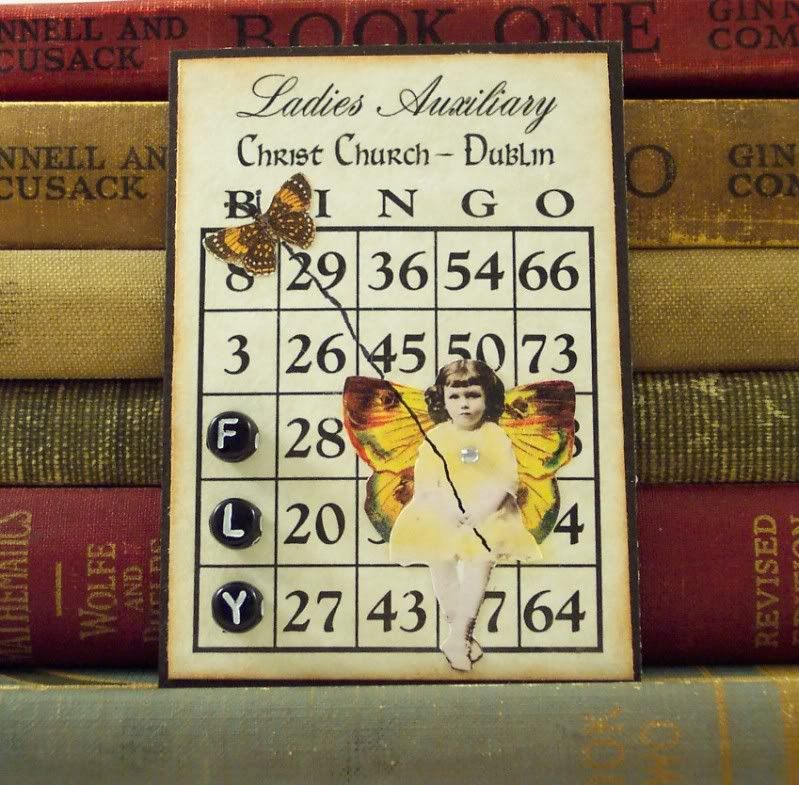
my first card is a cute fairy flying a butterfly:
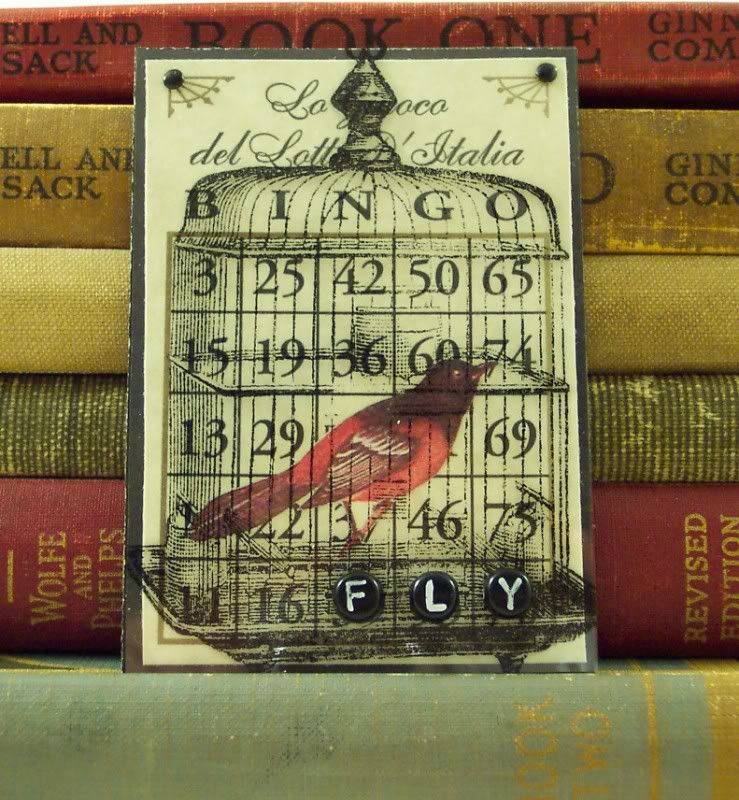
my other card is a bird inside a cage:
Tags:ACEO, art card, ATC, bird, challenge, fairy, fly, melange
Posted in ATC | 8 Comments »
Friday, May 22nd, 2009
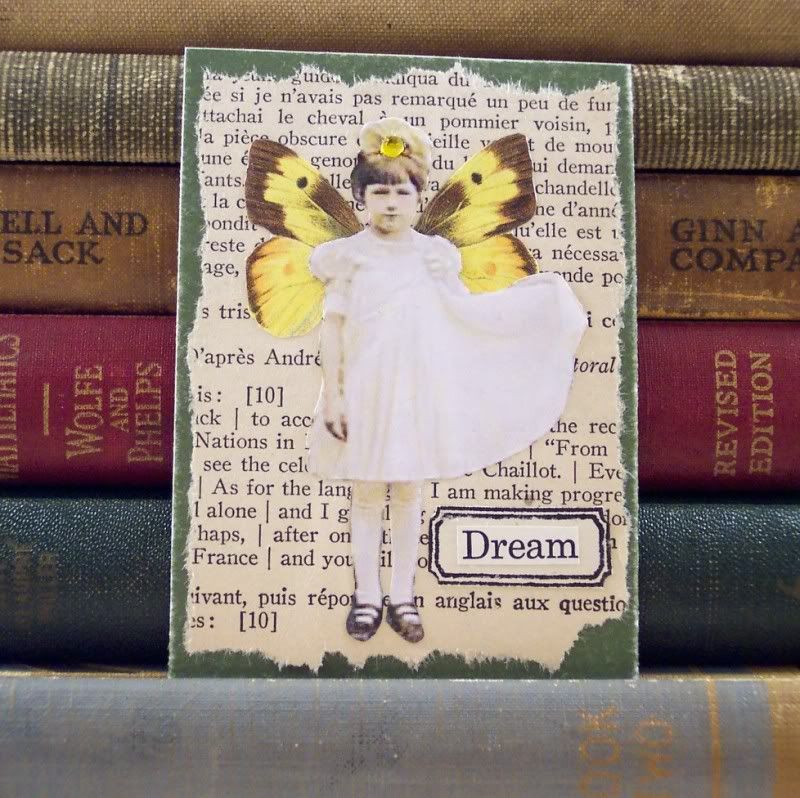
Just a quick post to share a sweet little Art Card. It’s a fairy holding out her pretty dress to show it off, she’s got big yellow wings and a bow on her head with a rhinestone. I added a stamped plaque with the word Dream. It’s on green cardstock and paper torn from a vintage French text book.
Tags:ACEO, art card, artist trading card, fairy, green, yellow
Posted in ATC | No Comments »
Friday, April 24th, 2009
I’ve been trying to participate lately in more “challenges”, it’s where a website or group picks a theme, idea or product and everyone makes something based around it and then shares their art. It’s so much fun to see all the different ideas others come up with all based around the same theme.
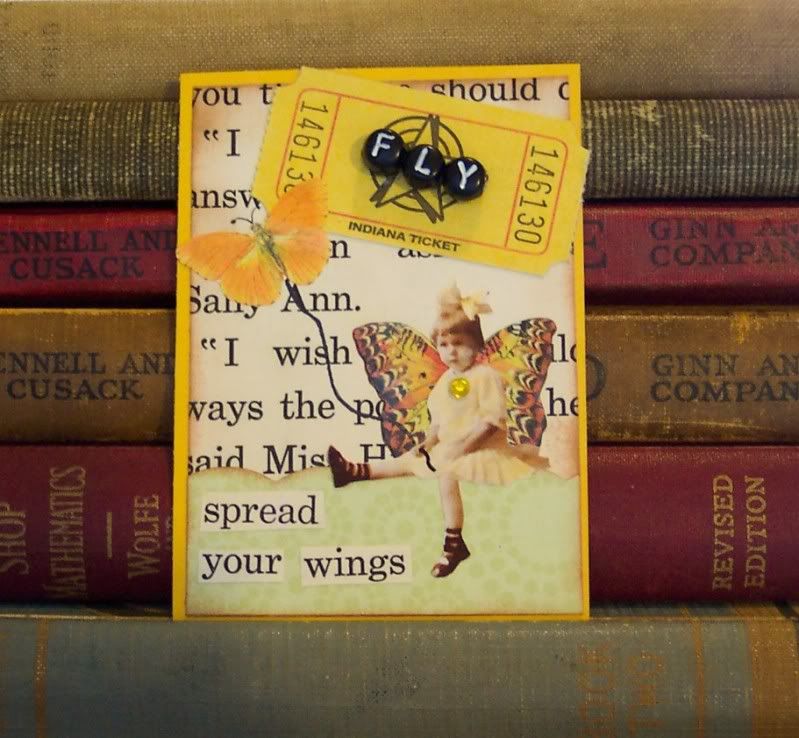
My “Artchix” yahoo group has a current challenge called “Go Fly a Kite” and my Melange team from Etsy has a challenge called “Ticket” and an idea came to me to combine the two and so I made this ATC called “Flight Ticket”.
Please visit the Melange team website and click on the “Mix it up with Melange” post comments section to find links to other participants art work: http://melangeonetsy.blogspot.com/ each Wednesday a new challenge will be posted.
You might also want to consider joining the Artchix yahoo group: http://groups.yahoo.com/group/artchixstudio/
Tags:ACEO, art card, ATC, butterfly, challenge, fairy, fly, kite, ticket
Posted in Announcements and Acknowledgments, ATC | 6 Comments »
Tuesday, April 21st, 2009
I’ve made a few more Alice in Wonderland themed Art Cards (cards measuring 3 1/2″ x 2 1/2″).
This first one is an image of Alice peering over the edge of the mushroom to talk to the Caterpillar while he smokes his hookah. The image is colored with colored pencils and I added “grass” at the base of the mushroom and ran a thin strip of cardstock through my label maker for the words “Who Are You” floating above them.

For this next card I put the image of Alice looking at her reflection in the looking glass directly on a piece of glass and colored on the backside with markers. I also rimmed the edge of the glass with a gold pen.
Tags:ACEO, alice, art card, ATC, caterpillar, collage, glass, looking glass, mushroom, wonderland
Posted in ATC | No Comments »
Friday, March 27th, 2009
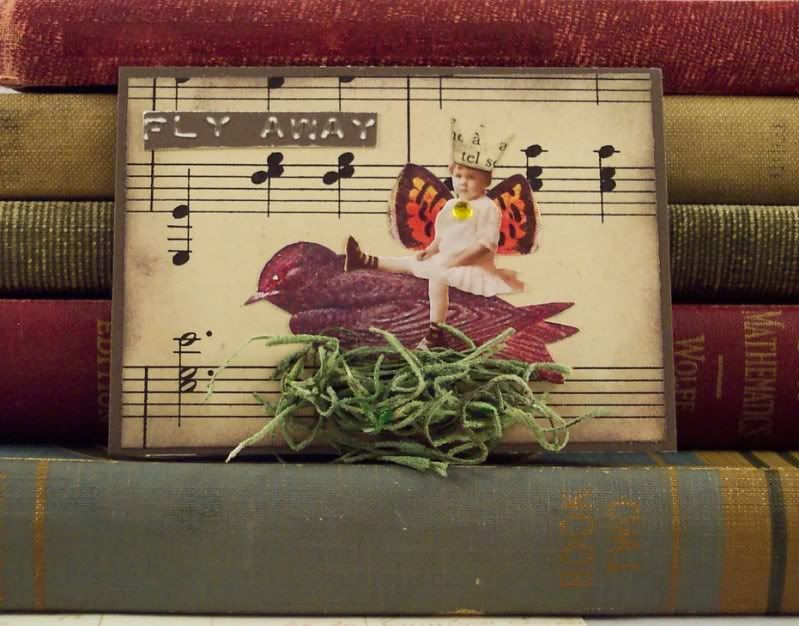
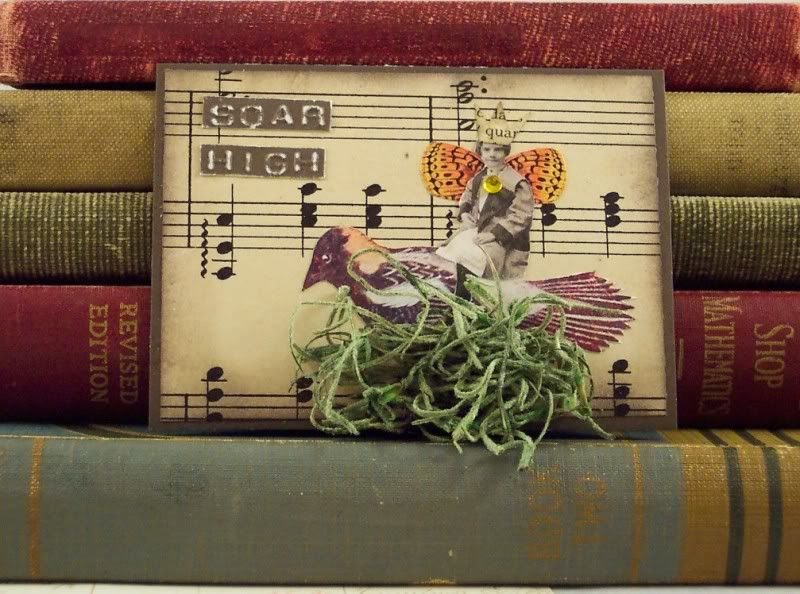
I’m totally obsessed with bird images lately and of course I’m always going to try to work a fairy in somewhere 🙂 so I decided to put the two together in my latest set of ATC’s. The base is dark brown cardstock and vintage music sheet and I added a vintage image of a bird with a little fairy princess wearing a crown sitting on the birds back. I wanted the bird sitting on a nest but couldn’t find a good image of a bird nest and don’t have a stamp the right size but I did have some fake grass so I took a small amount and squished it into a sort of nest shaped, I think it really added alot of dimension and realism to the cards. I also wanted some text so I took very thin strips of white core cardstock and ran them through my label maker and then sanded the letters so they’d show up better.
“Fly Away”
“Take Flight”

“Soar High”
Tags:ACEO, artist trading card, ATC, bird, fairies, fairy, flight, fly, music sheet, nest
Posted in ATC | 4 Comments »
Friday, March 20th, 2009
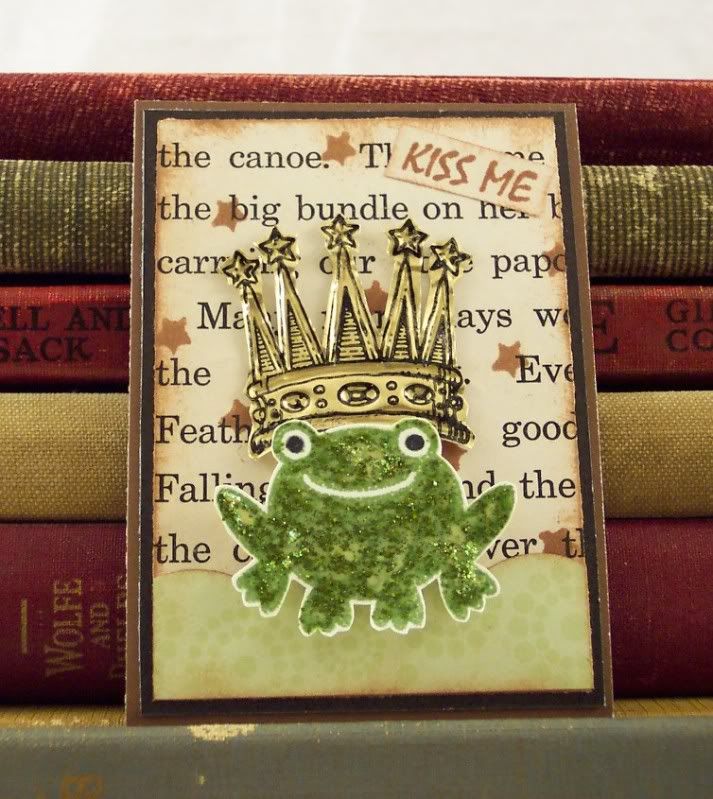
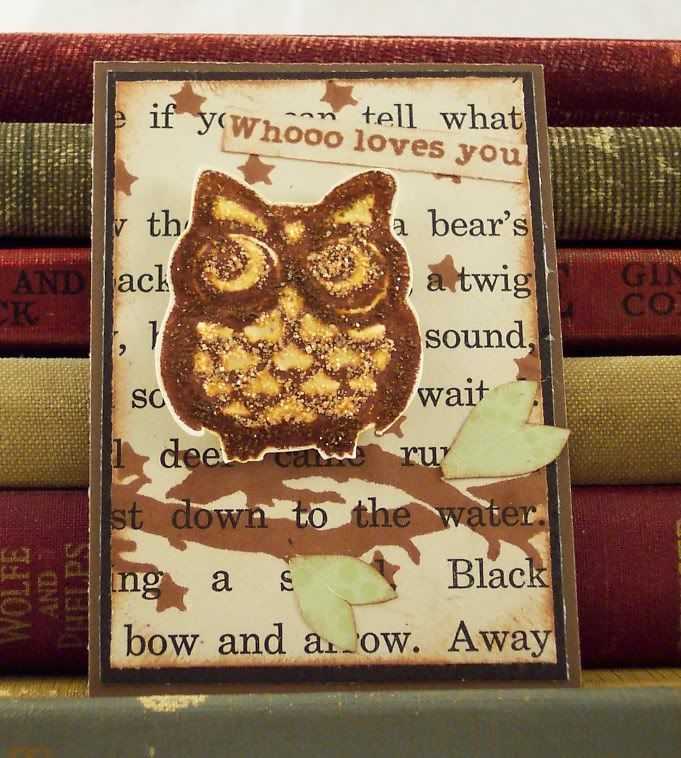
I recently got a super cute stamp set of forest animals and made some Artist Trading cards with them. I layered brown and black cardstock and then added a layer cut from a vintage children’s story book and stamped tiny stars on the book paper. Then I stamped the images, cut them out and mounted them with foam tape and then added Tim Holts’ distress Stickles glitter glue to each image. It adds a nice bit of color and chunky glitter but it’s more of an aged glitter look like German glass glitter than more traditional “sparkly” glitters, it’s really fun to use. Just a note I find it takes quite awhile to dry though so keep that in mind when using it.
“Sing” The first one is a deer in the forest, I stamped a tree trunk onto a scalloped I die cut and added a cute bluebird in the tree.

“Frog Prince” This next one is an adorable frog, I added a big gold crown to him. I stamped the crown on a thin metal gold sheet and then embossed it with a stylus tool then cut it out.
“Whoo?” The last one is an owl, he’s sitting on a stamped branch with cut out paper leaves.
Tags:ACEO, animals, artist trading card, ATC, deer, frog, glitter, owl, prince, stamped, stickles, tim holtz, woodland
Posted in ATC | 1 Comment »
