Archive for the ‘Large Collage Projects’ Category

We Daren’t Go

Wednesday, September 18th, 2019


I created this spooky Halloween Shadow Box using products from Tim Holtz and items from the craft store. It would be the perfect center piece for a haunted Halloween table. I filmed a video on how to make one, you can click here to watch it in HD on my Youtube channel or check it out down below.

-Heather

Ambition

Tuesday, January 27th, 2009

Last year I worked on one of the most ambitious collage pieces I’ve done. This time I took some pictures during my process, which I don’t normally do since I get so caught up in working on something I don’t stop to think about it:)

I had bought a large paper mache’ bust and I want to make it into more of an old style mannequin so I went to the craft store and got an unfinished round wooden base, finial and dowel along with some black matte spray paint.

Photobucket

I spray painted all the wood and drilled the dowel to the base.

Photobucket

Then using gel medium I completely covered the bust in torn pieces of paper, scrapbook pattern paper and pages from old books. Once it was covered and dried I used gesso to white wash all the papers.

Photobucket

I wanted the piece to open up in the chest so I cut out a door with an exacto knife and added a metal hinge and a glass bead thumb tack for the door handle. I added vintage trim inside the door to cover were the hardware was attached. I also took a scrabble tile with a tiny collage of a girl on it and tied it with a ribbon around the neck along with some more of the trim.

Photobucket

Photobucket

Photobucket

I also added a vintage tape measure around the waist and big vintage button and more vintage buttons around the neck.

Photobucket

I then cut holes in the top and bottom of the bust and slid it over the dowel and attached the finial at the top.

Photobucket

Then came the hardest part. I wanted something inside of door but the inside of the bust was hollow so I made a little cardboard shelf and attached it to the inside and placed a little blue mushroom bird on the shelf. I also wanted him behind a screen so I took some tiny gold screening and glued it inside the door. I added a quote on a strip of paper and attached it to the screen with a safety pin. The quote is from singer song writer Tori Amos and it says “You’re just an empty cage girl if you kill the bird”. That quote was the whole inspiration for the piece and I think I achieved what I was going for with it.

Photobucket

Photobucket

Photobucket

Let’s Try This Again

Thursday, July 31st, 2008

Ok, I got some burlap fabric and made another skirt for my “work in progress” mannequin. I think it works alot better than the other skirt, I hope my customer does too:)

Photobucket

A Work in Progress

Sunday, July 27th, 2008

I sell some of my work at a wonderful shop in Mt. Sterling KY called “Finders Keepers”, tell James and Randy that Heather send you if you ever stop by:) And they have asked me to do a large commission piece for the shop and I thought I’d share some step by step of my process and when it’s complete I’ll post that here too.

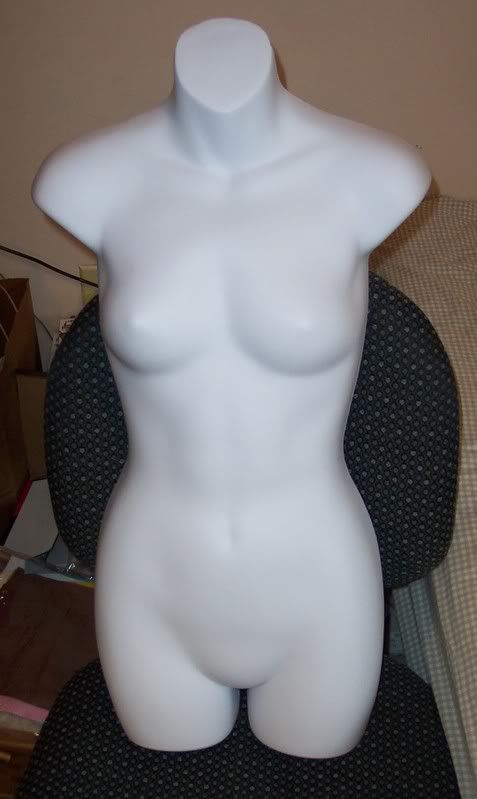
 The item is a life size white plastic mannequin, from the thighs up to the neck, it’s only the front half, no back. They wanted it collaged and then a skirt and some embellishment added.

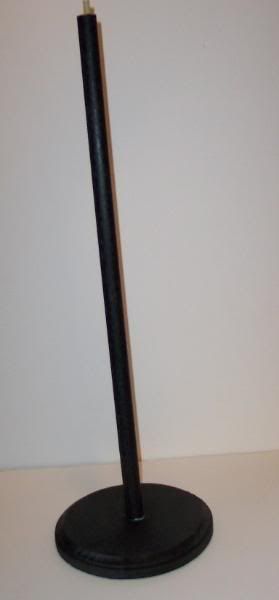
Here’s the plain mannequin:

Photobucket

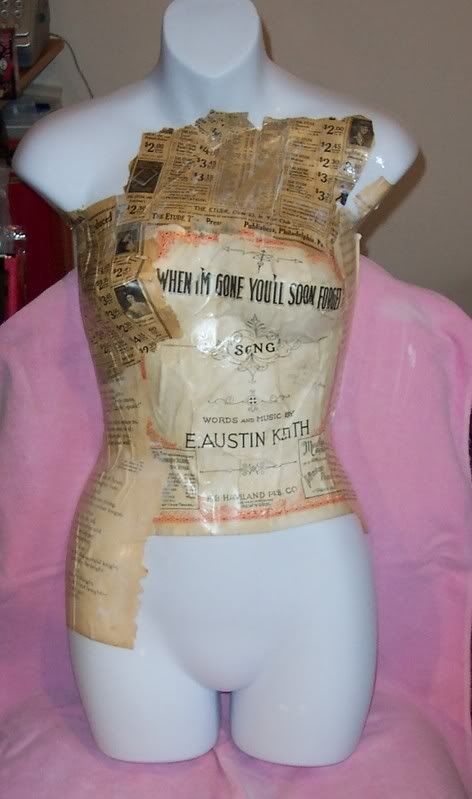
Because it was so large I worked on it in a chair covered with an old towel, to catch the drips. I wanted to use large pieces of paper to cover as much area as I could at a time. All the papers I used are very old vintage papers from books, musics sheets, the cover of a music sheet and an old magazine cover. I used a foam brush and Mod Podge to apply the papers, it took nearly an entire large jar of Mod Podge to cover the whole piece in the end! 🙂 I would first mold a piece of paper to see where it would fit and how it would look, creasing and folding if need, this helps the paper remember the shape when you actually apply it. Then I covered the back of the paper with the Mod Podge and then also applied some to the mannequin and then lay the wet paper on, smoothing out bubbles and making it flat with my fingers. Then I applied another coat of Mod Podge over the piece of paper.

Here’s the first piece I glued down:
Photobucket

Then I just continued adding more:
Photobucket

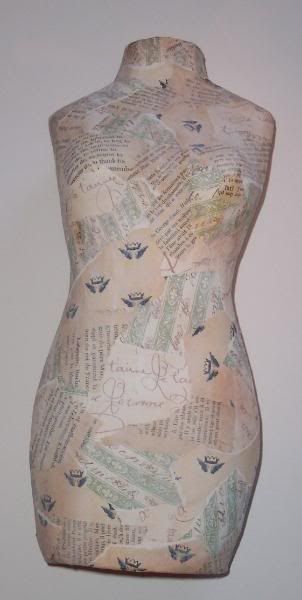
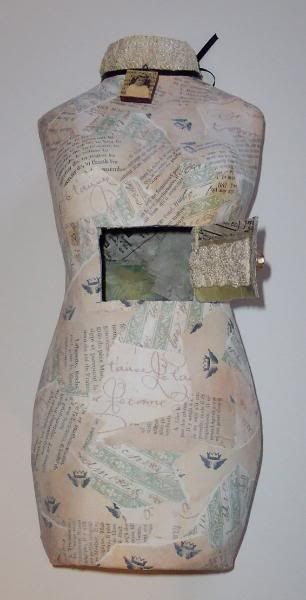
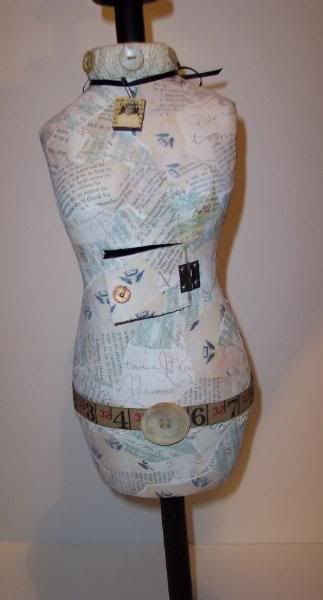
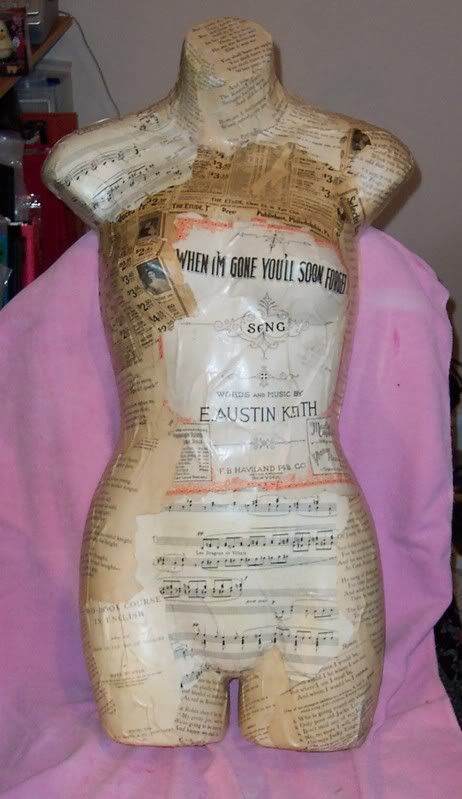
Until the entire thing was covered, which took almost 4 hours:
Photobucket

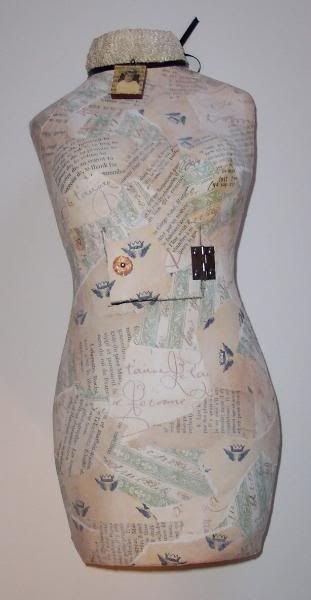
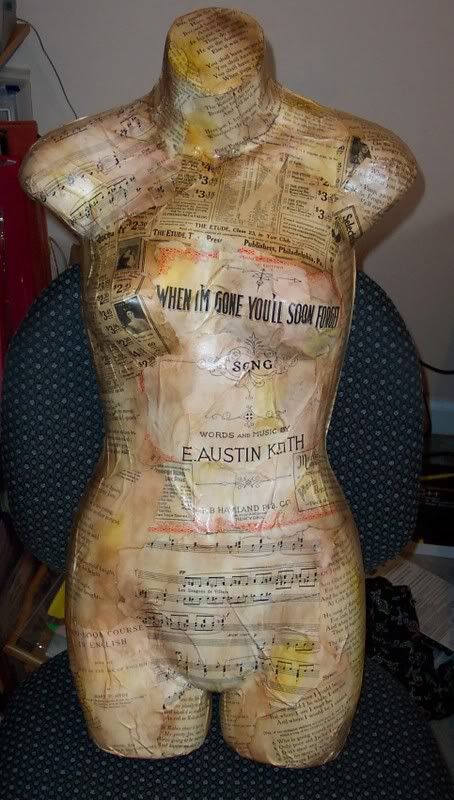
They wanted the piece to look old and dirty so after it dried I used a large round sponge and added many colors of brown and yellow inks to really age it up:
Photobucket

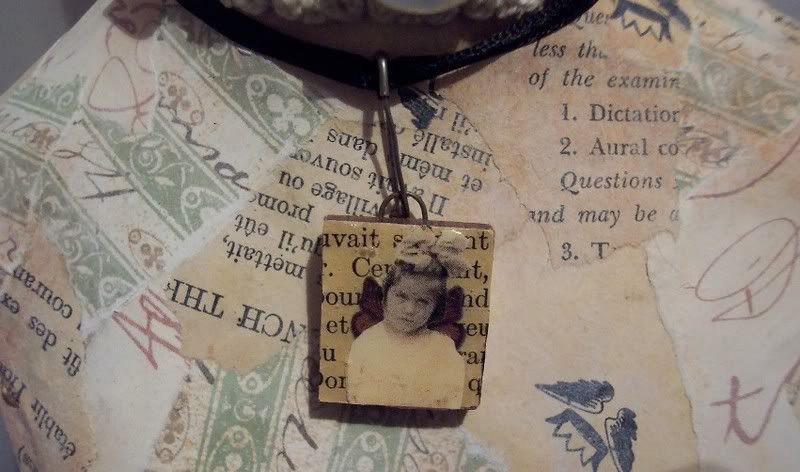
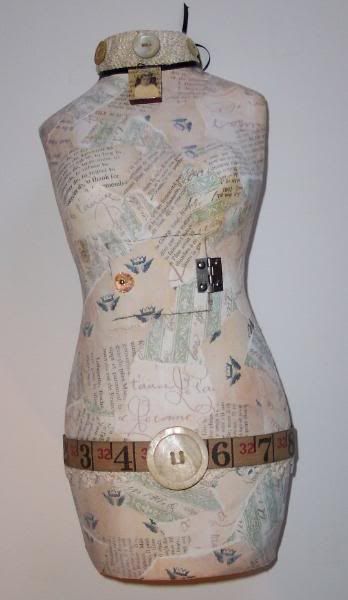
Then I added a choker made from vintage lace and an old button:
Photobucket

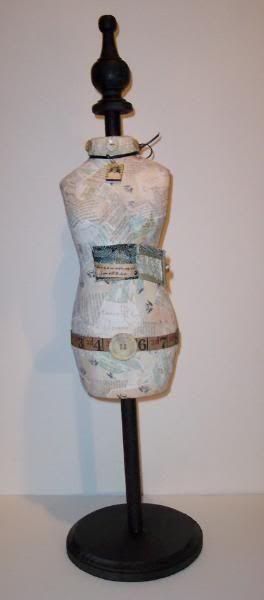
I then tried my hand at the skirt, the most challenging part for me. I used some pretty fabric I had and loosely stitched around cinching it at the top and attached it to the piece, I used pinking sheers on the edges and frayed them too:
Photobucket

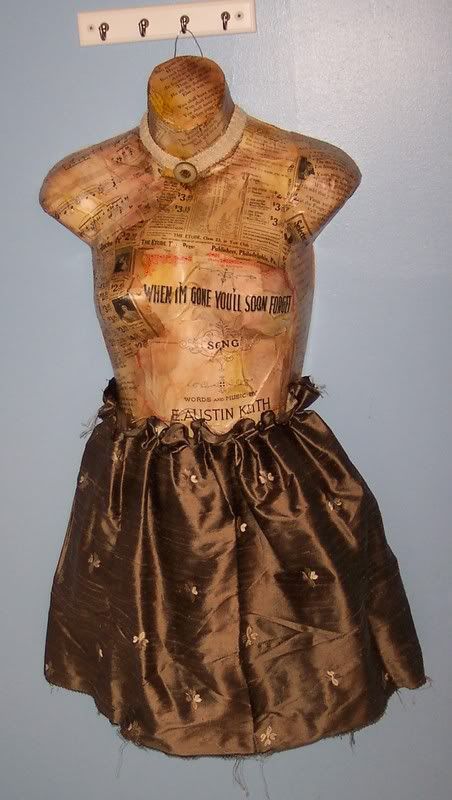
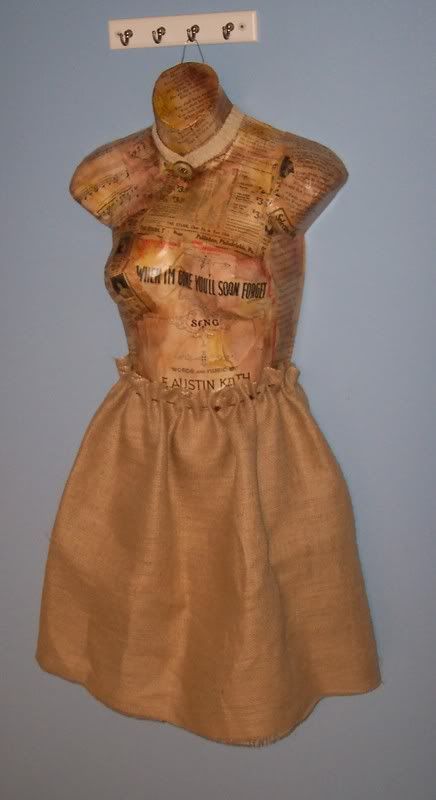
The skirt just doesn’t work though, it too shinny and new for the piece so I’m going to change it. Burlap was suggested so I bought some yesterday and will give it a try. I’ll let you know how it goes 🙂

Hope you enjoyed a little peek into my working process. I really wish I had taken a picture of my hands while working on this, they were covered in Mod Podge, it looked like my skin was peeling off, eeewww 🙂

Shrine Boxes

Friday, February 29th, 2008

I found these really cool boxes at Michael’s, they are wooden with a wire mesh opening on the top and they close with a metal latch and hinges. I thought I could turn them on their sides and make some cool “shrines” with them.

This first one is an Asian design, which is where the shrine inspiration comes from. I painted the front “door” and insides with different colors of acrylic paint. Then tore pages out of an old Chinese poetry book and also tore washi and origami papers and layered them all over the sides and back of the box adhering them with matte Modge Podge (you could also use Gel Medium). I then collage the image of a Geisha, added wings, a flower and text to her and adhered it to the inside back of the box. I also added some Asian game pieces.

Here’s the shrine open from the front:
Photobucket

Here it is closed:
Photobucket

And a couple of shots of the sides and back:
Photobucket

Photobucket

Here’s another shrine I did with the theme “Secret Garden”, inspired of course by the book. This box was also painted and covered in torn pieces of mulberry paper and pages from an old book. I collaged the image of a woman and added wings to her (yeah, I do that alot:)) and some text and also added a small compass inside the box. The door of the box has a neat bumble bee charm on the outside of it. On the bottom of this shrine I wanted some “feet” for it to stand on so I attached some old round wooden game pieces to the bottom of each corner of the box.

 Here’s the front open:

Photobucket

Here’s a view of the front closed:

Photobucket

And one so you can see the side:

Photobucket