Posts Tagged ‘lawn fawn’
Friday, May 11th, 2018
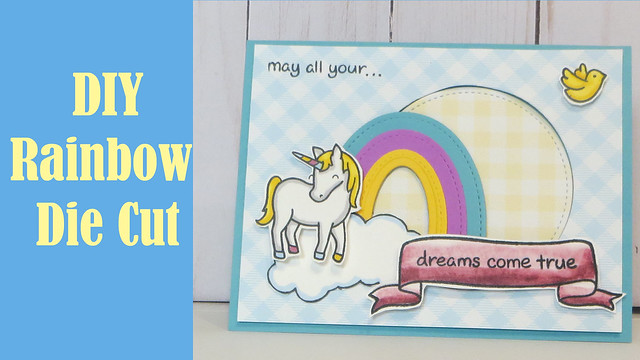
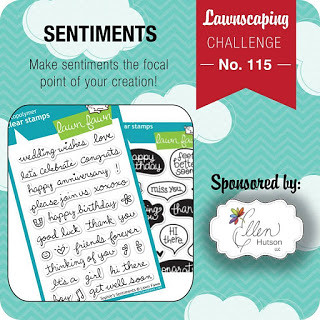
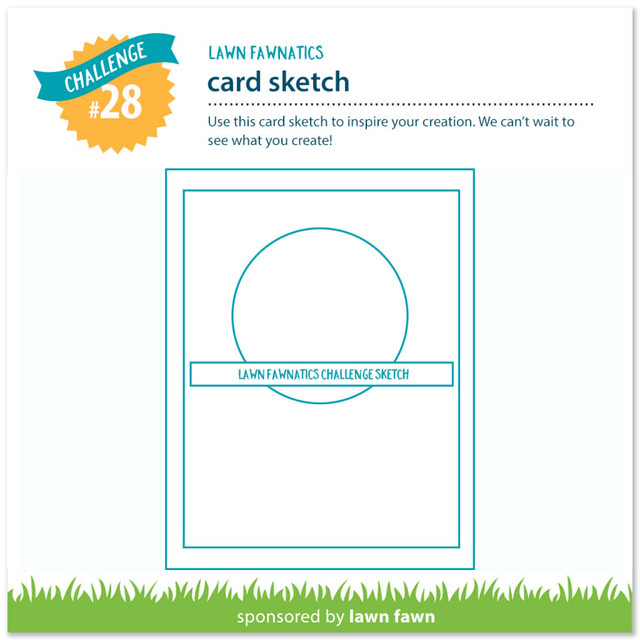
I haven’t participated in a challenge in a while but thought it would be fun to play with the latest Lawn Fawnatics blog challenge, I’ve missed joining in! This time it’s a sketch, click here to visit their blog and check it out. I made this fun Unicorn card and filmed a video tutorial. I’ll show you how to use oval dies to make your own custom rainbow die cut and how to color an ombre’ banner.
Click here to visit my Youtube page for the tutorial.
Tags:birthday, card, challenge, clouds, crafs, crafting, critters, die cuts, die cutting, dies, diy, fantasy, how to make, ideas, lawn fawn, lawn fawnatics, paper, rainbow, stamped, stamping, stamps, tips, tutorial, unicorn, video, youtube
Posted in Greeting Cards and Tags | No Comments »
Saturday, November 4th, 2017
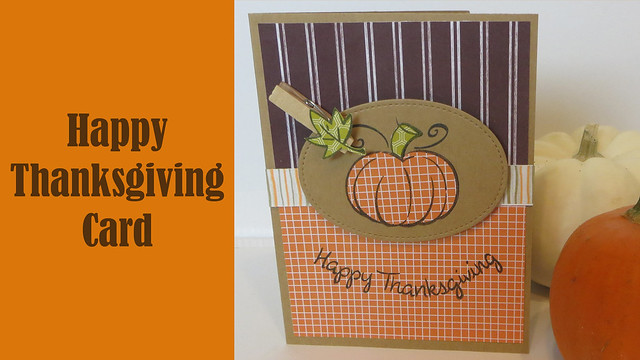
I’ve got a new project tutorial up on my Youtube channel for a quick and easy Thanksgiving card using a paper piecing technique.Click here to watch.
-Heather
Tags:autumn, card, card making, diy, fall, how to, lawn fawn, paper piecing, project, pumpkin, stamping, stamps, technique, thanksgiving, tutorial, video
Posted in Greeting Cards and Tags | No Comments »
Sunday, October 1st, 2017
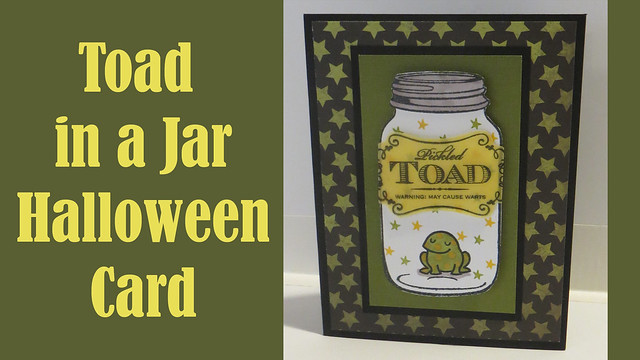
Hop on over to my Youtube page and watch my tutorial for this fun Toad in a Jar Halloween card.
-Heather
Tags:card, card making, crafting, crafts, CTMH, diy, frog, halloween, inkadinkado, jar, label, lawn fawn, magic, mason jar, paper, potion, project, stamped, stamping, stamps, toad, tutorial, vellum
Posted in Greeting Cards and Tags | No Comments »
Wednesday, July 12th, 2017
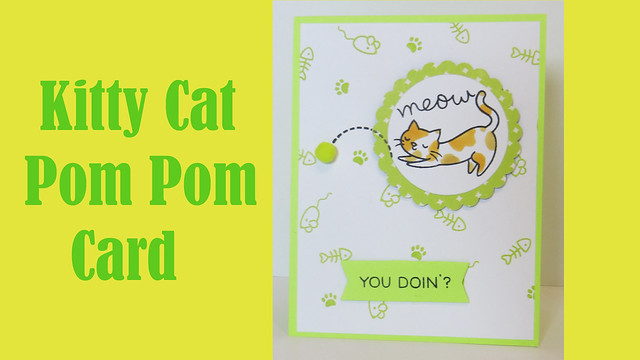
I’ve got another card tutorial video up at my Youtube channel. This cute Kitty Cat Pom Pom card is made with stamps from Lawn Fawn. Click here to watch.
-Heather
Tags:card, crafting, crafts, diy, how to, kitty, lawn fawn, lime green, paper, pom pom, project, stamping, stamps, tutorial, video
Posted in Greeting Cards and Tags | No Comments »
Monday, February 24th, 2014

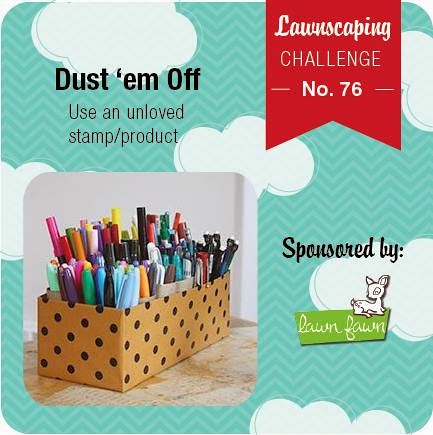
The current challenge at the Lawnscaping Challenge blog is dusting off supplies you haven’t used in awhile. For my card I got out some yellow flocking powder which I haven’t used in ages and also some decorative edged scissors, which I also just don’t pick up as much any more, even though I probably have 8-10 pairs. I used stamps from the Lawn Fawn “Happy Easter” set, adding flocking to the little chicks, now they’re yellow and fuzzy! 🙂
To make this card:
cut a piece of green cardstock in half and fold for the card base
trim a floral pattern paper to 4″ x 5 1/4″ and adhere to card front
trim white cardstock to 5 1/2″ x 1″, line up flowers, eggs and chicks stamps on one long clear block and stamp twice with black ink
color all images exept chicks with markers
using a glue pen add glue to chicks and cover with yellow flocking powder, lightly press down and then tap off excess, let dry
cut blue cardstock to 5 1/2″ and cut one long edge with decorative scalloped scissors, punch small holes in each scallop
adhere stamped piece to blue piece and adhere to card front
stamp sentiment in black on card front
Tags:, chicks, directions, diy, easter, easter card, eggs, flocking, flowers, fun flock, greeting card, how to, lawn fawn, lawnscaping challenge, project, spring, stamping, tutorial
Posted in Greeting Cards and Tags, Uncategorized | 2 Comments »
Monday, February 10th, 2014
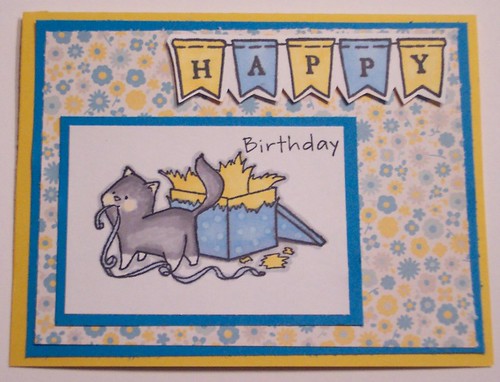
Just wanted to share the birthday card I made for my Mom this year. She has an adorable grey kitty with white “socks” on her legs so they named her Boots, so I used a kitty with a gift stamp from C C Designs and colored it with Spectrum Noir markers to look like Boots. The stamp is actually in a Christmas set but using bright yellow and blue colors instead of red and green it’s a perfect birthday stamp too. I also added the banner stamp from Lawn Fawn.
Tags:birthday, birthday card, c c designs, card making, cat, cat card, greeting card, kitty, kitty card, lawn fawn, rubber stamping, spectrum noir markers, stamped, stamped card
Posted in Greeting Cards and Tags | No Comments »
Friday, January 24th, 2014
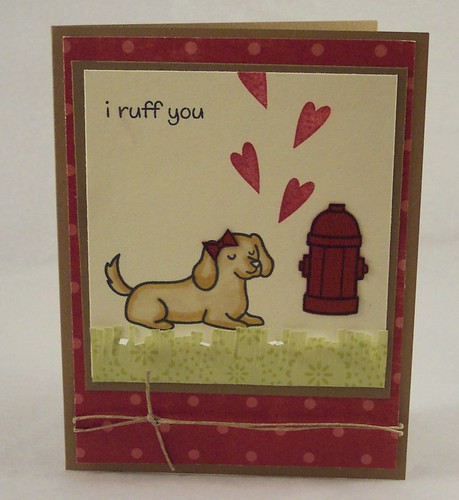
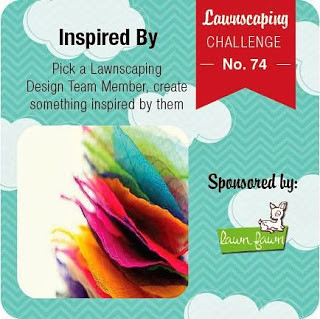
The challenge over at the Lawnscaping blog is to make a card inspired by one of the design team members, I chose Audrey, I love her use of pattern papers, making cute scenes and she uses grass a lot, which I like to do too.
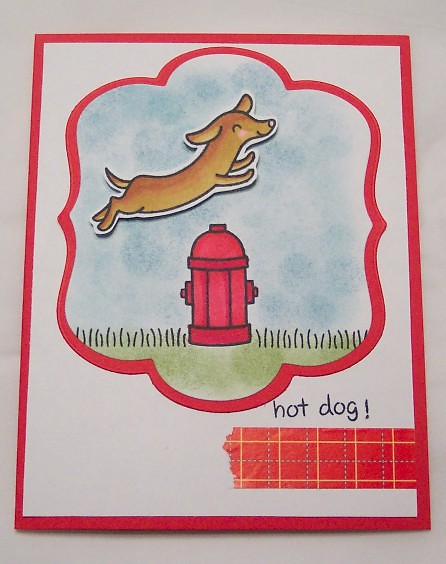
For my card I used the Critters at the Dog Park stamp set from Lawn Fawn, this cute little pooch is in love with the fire hydrant 🙂
Tags:card, dog, dog park fire hydrant, doggie, greeting card, hand made, hearts, lawn fawn, lawnscaping challenge, love, paper crafts, puppy, rubber stamping, stamped, stamping, stamps, valentine, valinte's day
Posted in Greeting Cards and Tags | 3 Comments »
Monday, November 25th, 2013
Winter is finally here, it was 17 degrees yesterday when I woke up, brrrr!
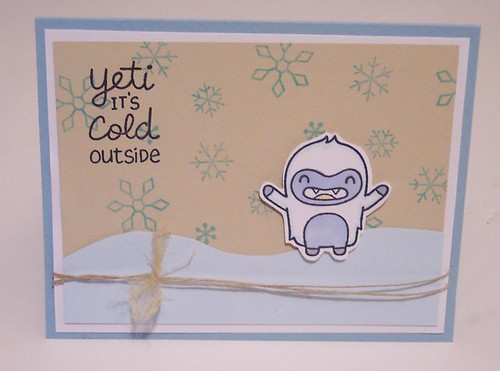
To get in the mood for this frigid weather I made this adorable, abominable snowman card using stamps from Lawn Fawn.
Here’s how…..
Supplies- Light blue, pale blue, tan and white cardstocks; Lawn Fawn” Yeti” and “Critters in the Snow” (snowflakes) stamp sets; blue and black inks, jute string, alcohol markers, foam tape
– First cut a piece of light blue cardstock in half and fold for the card base
-Next cut a piece of white cardstock to 5 1/4″ x 4″ and cut a pale blue piece to 5″ long and using your scissors cut a wave shape across the top
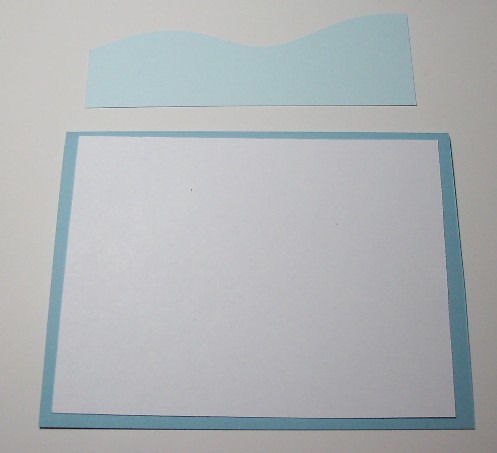
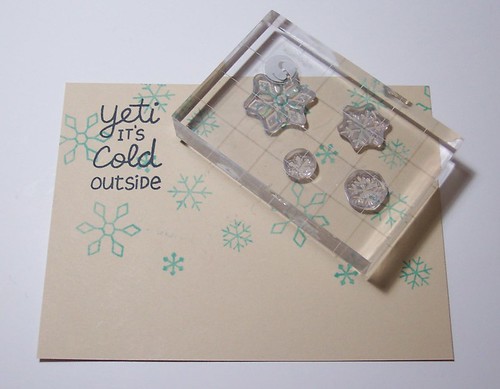
– Next trim a tan piece of cardstock to 5″ x 3 3/4″ and randomly stamp snowflakes with blue ink. Tip: Place several clear snowflake stamps onto the same block to make stamping quicker. Next stamp the words in black.
– Adhere the tan piece of cardstock on top of the white then adhere the blue wave piece, wrap a 24″ piece of hemp string around the bottom, tie in a knot and fray the edges. Adhere this to the cardstock base.
– On white cardstock using black ink stamp the yeti and color with alcohol markers and cut out. Mount him to your card using foam tape.

Tags:, abominable snowman, card, diy, greeting, hand made, holiday, how to, lawn fawn, project, snow, stamped, tutorial, winter, yeti
Posted in Greeting Cards and Tags | No Comments »
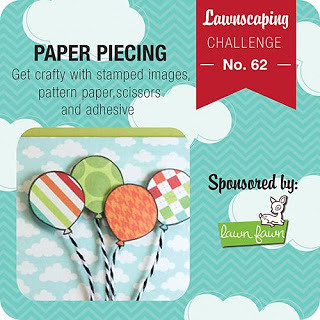
Tuesday, July 16th, 2013
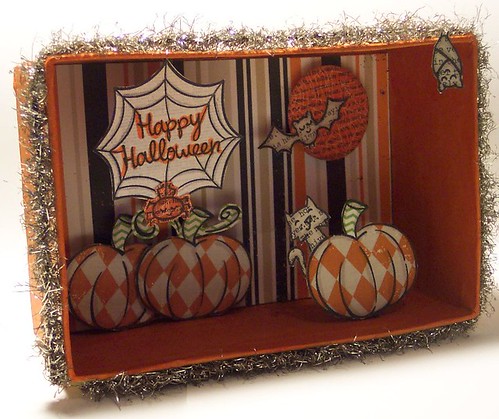
This time around on the Lawnscaping Challenge blog it’s paper piecing. For me it’s never too early to start thinking about Halloween so I decided to make a Halloween Shadow box using 3 different Lawn Fawn sets, Hebbie Jebbies, Critters in the ‘Burbs and Harvest Season. I can’t wait until Halloween so I can put it on my mantle!
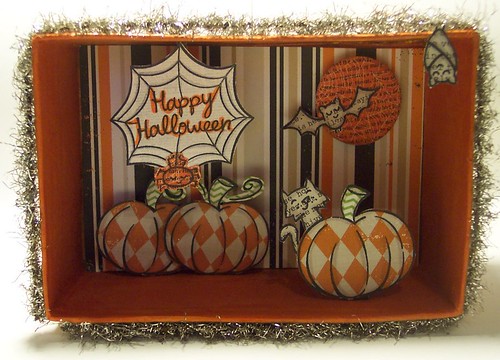
Tags:bats, box, fall, halloween, holiday, lawn fawn, paper, paper crafts, paper piecing, pumpkins, shadow box, spider web, stamped, stamping, stamps
Posted in 3D and Assemblage, Altered Boxes | 8 Comments »