Archive for the ‘Hanging Collage’ Category

Something a Little Different

Monday, October 26th, 2009

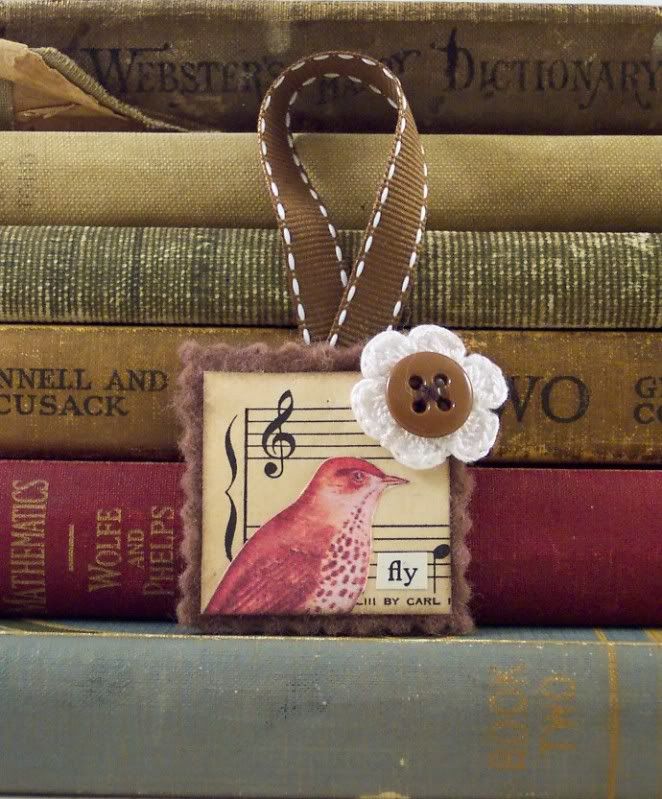
I recently got a new book at the library called “Pretty Little Felts”, the author, Julie Collings had made some amazing things using felt, including some great paper and felt ornaments. I was really inspired by them and decided to put my own twist on them and give some a try myself.

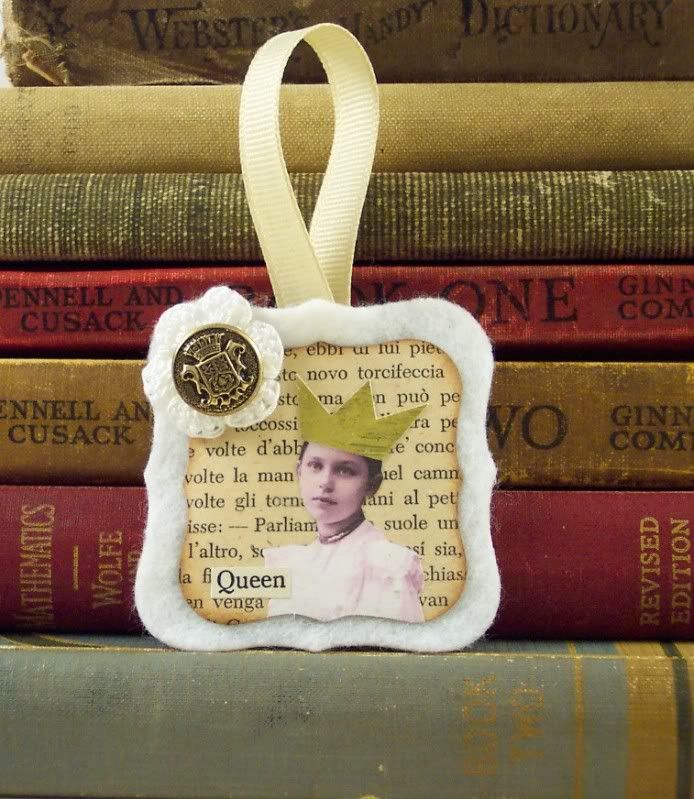
I made some tiny collages, very similar to what I’ve done in the past for other projects using vintage papers as backgrounds and adding other collage images and words on top, I then sealed the paper using gel medium, I stitched a loop of ribbon to my felt shapes and then adhered the paper collages on top. I then added embellishments like crocheted flowers and vintage buttons. I’m really happy with how they turned out 🙂

This one is a favorite theme of mine, a bird:

Photobucket

This one is a pretty little girl I tunred into a Queen, reminds me of the White Queen from Alice in Wonderland:

Photobucket

these are both on sale here in my Etsy shop  right now, look for more of these coming soon:)

Halloween Tussy Mussy Project

Thursday, October 1st, 2009

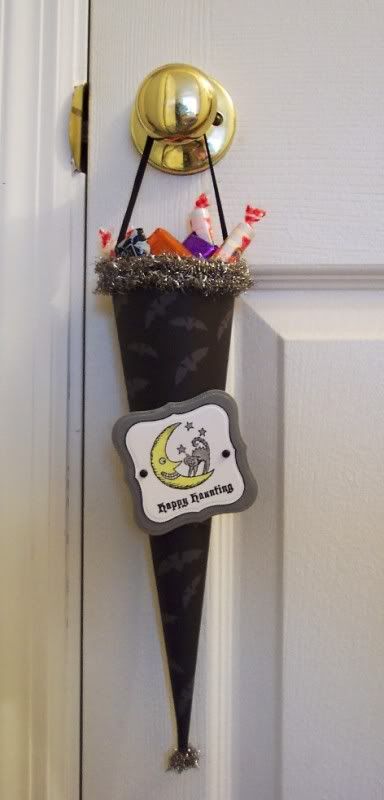
I thought it would be fun to share the instructions for a project I just finished. It’s a paper Tussy Mussy for Halloween. Tussy Mussy’s are a Victorian era hanging cone usually for flowers but this one holds candy.

Photobucket

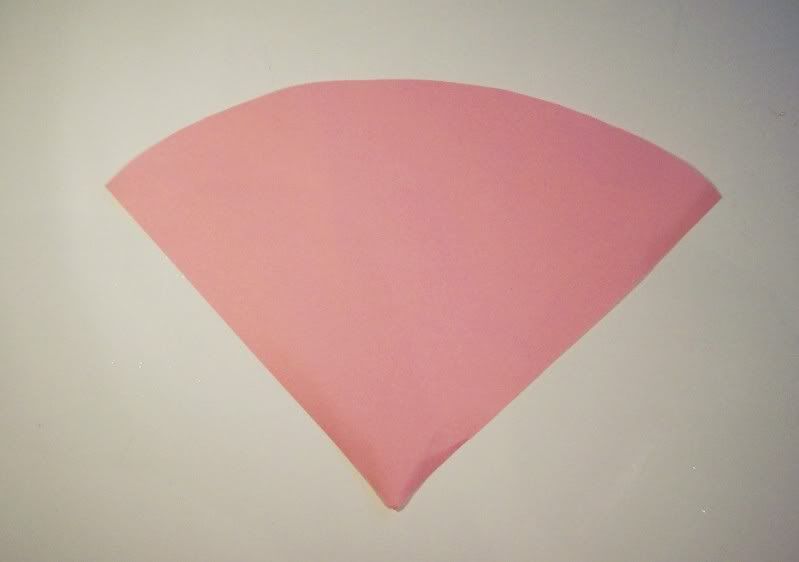
Start with a 12×12 piece of pattern paper or cardstock, mine has bats on it, flip it to the back side and turn it so one corner faces towards you and with a pencil draw a half circle from the left corner to the right corner then cut along your lines. Here’s a picture of what it should look like.

Photobucket

Next apply adhesive down one long side of the back of the cut paper and roll the other side toward the adhesive forming a cone shape.

Next apply adhesive around the top outside opening of the cone and wrap tinsel garland around, I wrapped twice.

Cut a small piece of the tinsel garland and roll it into a ball, adhere it to the bottom of the cone with a strong adhesive.

Next attach a 7″ long piece of ribbon inside the top of the cone, use a strong adhesive or brads to attach it.

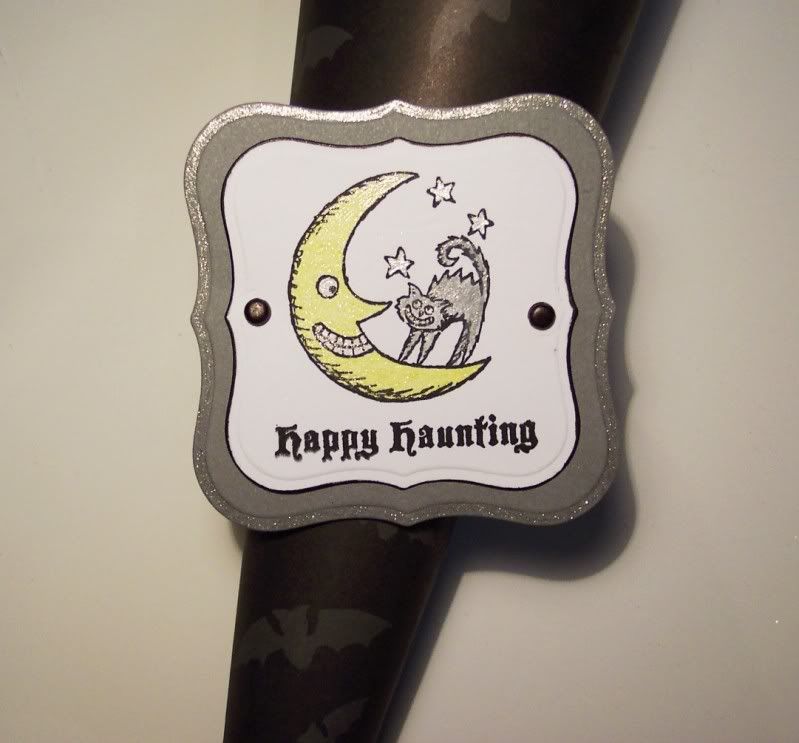
Next add a stamped decoration or tag to the front, I used my Cuttlebug and Spellbinders Tag#1 to die cut and emboss a grey tag and a smaller white tag. I stamped a cute Moon and Kitty stamp on the white tag and colored it with glitter gel pens and edged it with a black marker, then layered it onto the grey tag and colored around the edges of the grey tag with a glitter pen too. I also added brads to the tag for some embellishment and then attached it to the cone with foam dots.

Photobucket

Fill with candy and hang it on someone specials door!

If you make one too please send me a link!

The Queen Likes to Play Games too

Thursday, June 11th, 2009

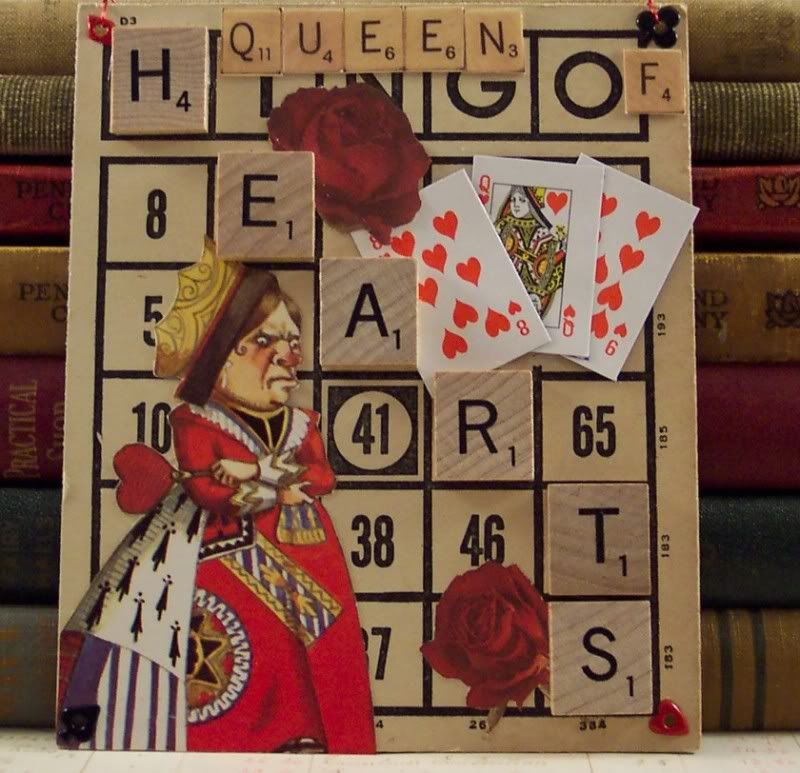
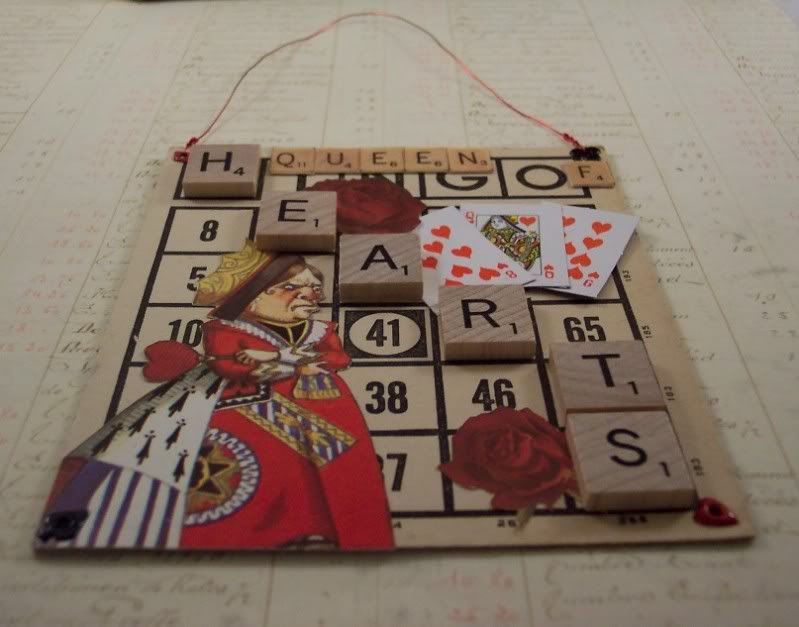
Here’s a fun collage with an image of the Queen of Hearts from Alice in Wonderland that I cut from a really cool old children’s pop up book I found. She’s surrounded by roses, tiny playing cards and real scrabble tiles. The background is a vintage bingo card, I added small metal eyelets to each corner that have different playing card suits. I attached red wire to the top to hang it from.

Photobucket

Photobucket

My Froggie Friend

Tuesday, May 26th, 2009

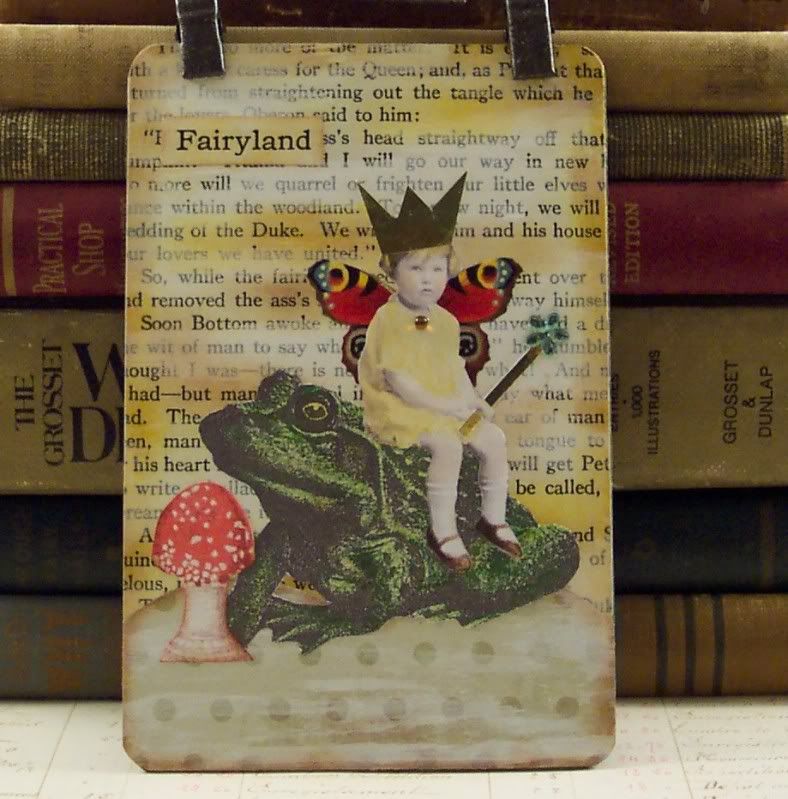
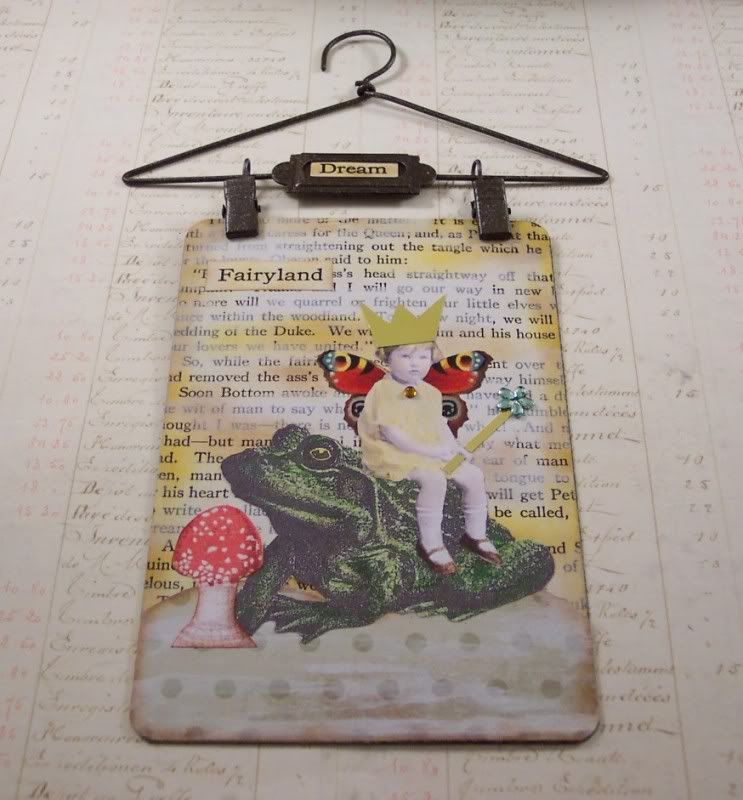
I found a really neat black and white illustration of a frog in a vintage children’s book and thought he’d make a great friend for one of my fairies:) I made a copy of him and colored him with colored pencils and then added a sweet fairy holding a  rhinestone wand hopping a ride on his back. I also added a mushroom, frogs and mushrooms just go together, right? 🙂 They are sitting on a hill of polka dotted paper and the background is vintage book paper that’s been white washed. I hung it on a cute metal hanger and added the word “Dream”.

Photobucket

Photobucket

A Little Something Different

Thursday, April 23rd, 2009

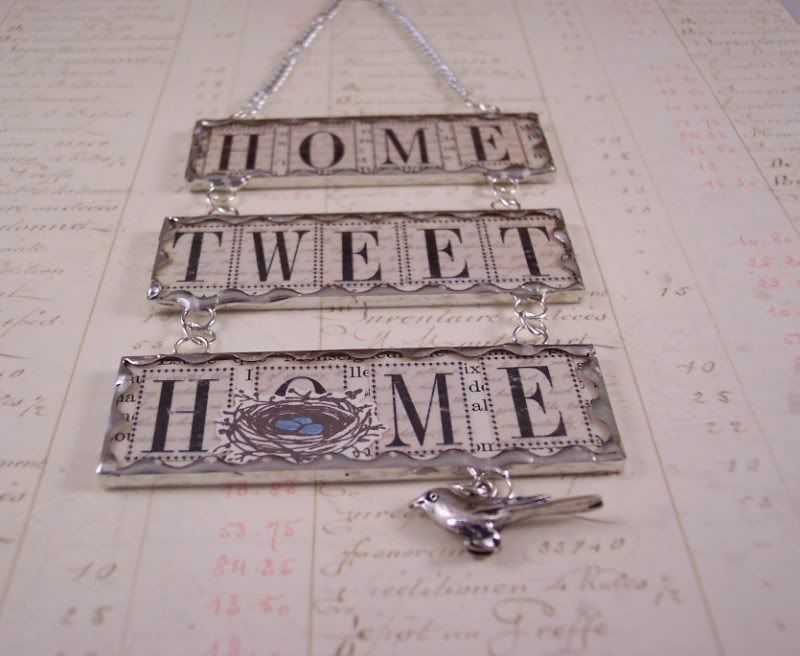
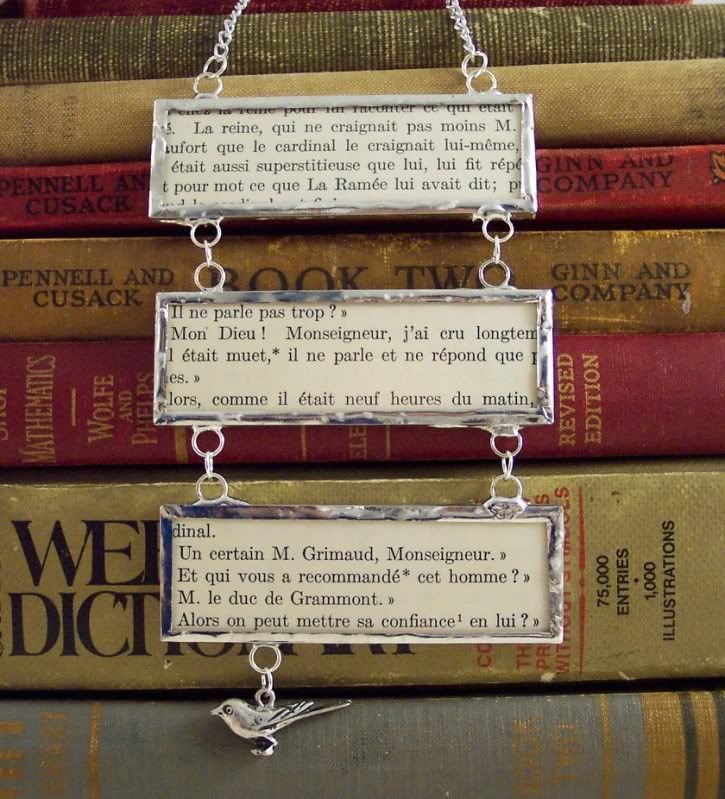
I wanted to make something a little different than what I normally make with my soldering and decided to make a wall hanging, it was inspired by a piece from Sally Jean who is an amazing collage and soldering artist. I took 3 glass panels, each 3″ x 1″ and cut backgrounds for them from vintage French book paper and added the words “Home” “Tweet” and “Home” to each, on the last one I also added a cute little bird nest with blue eggs. I soldered each panel with scalloped edge solder and soldered jump rings to each then attached the panels together with more jump rings, hung a chain from the top and a tiny silver bird charm from the bottom. I’m thrilled with how it came out! 🙂

Photobucket

Photobucket

back:
Photobucket

It’s Good to be Queen

Friday, March 13th, 2009

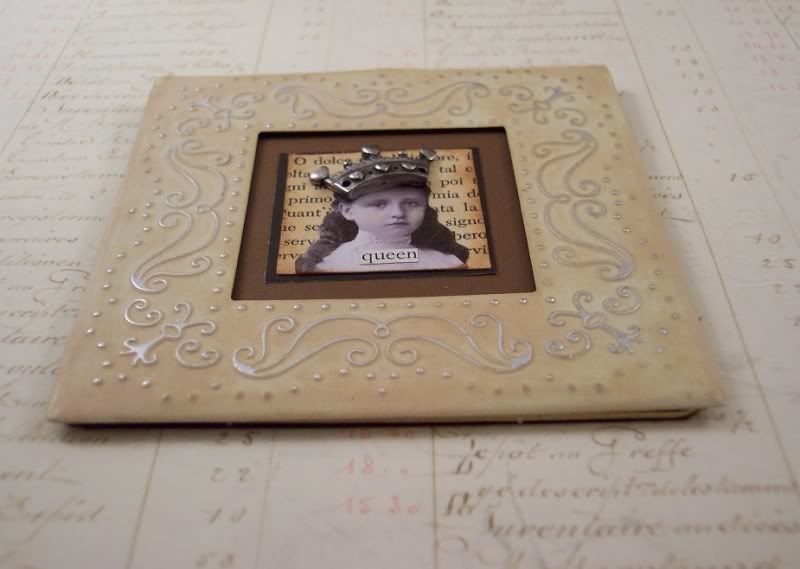
Here’s a pretty little collage I made this week. I got some really neat pewter crown charms and added one to an image of a sweet girl along with the word “queen”. I mounted her on paper from a vintage Italian book and black and brown cardstock. I aged a very cool metal embossed frame I had with some brown ink and mounted it all on a piece of chipboard for some stability and added a metal hanger to the back. I think it’s got a simple but very elegant look to it.

Photobucket

Photobucket

Happy Happy New Year

Wednesday, December 31st, 2008

I want to wish everyone a very Happy New Year!

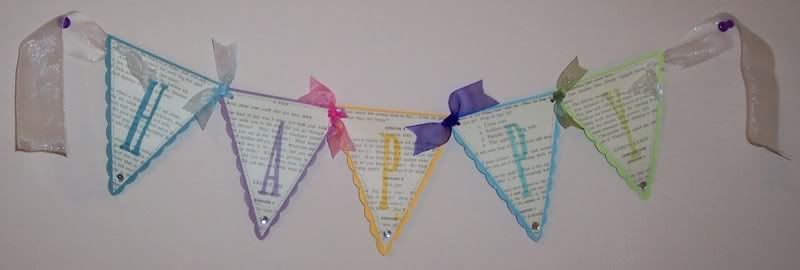
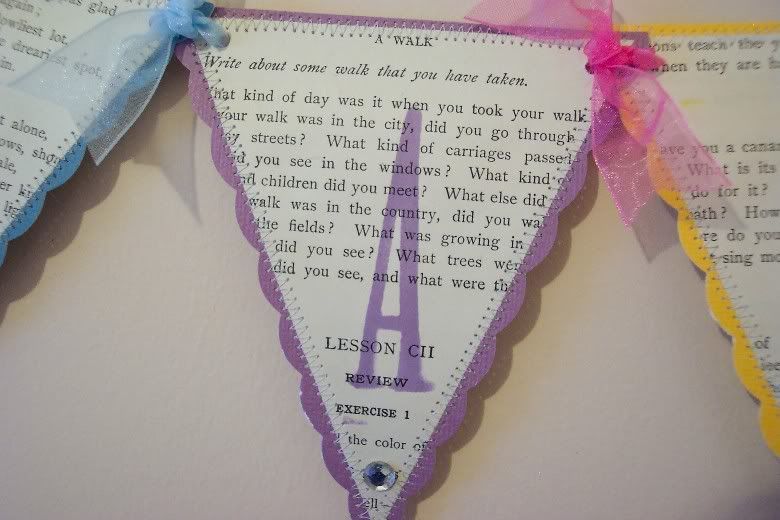
Here’s a cute paper banner that I made using cardstock and an old book pages. Each pendant is zig-zag stitched around on my sewing machine and has scallops cut into the cardstock and I added a large rhinestone to each pendant too. I stamped the letters in different bright inks and used different colors of organdy ribbon to tie them all together.

Photobucket

close up:
Photobucket

it’s currently for sale at my new Lollishops shop:

http://www.Lollishops.com/PisforPaper

Winter Fairy

Saturday, December 6th, 2008

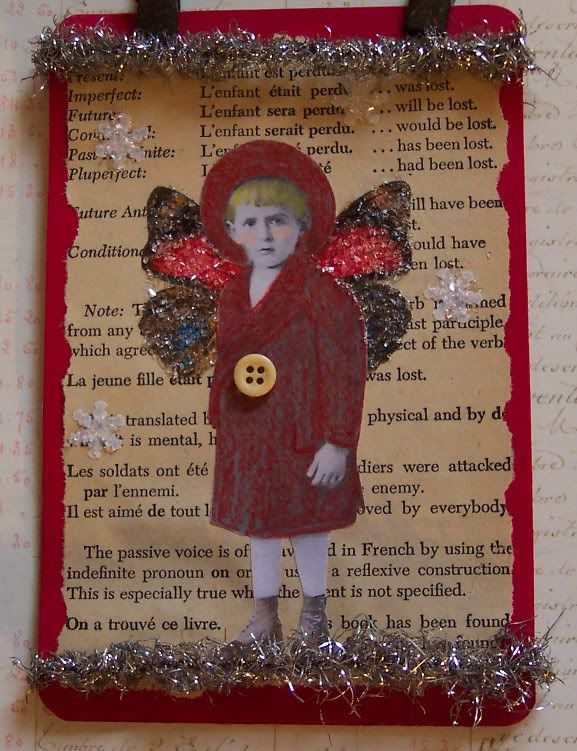
I made another hanging postcard collage of a winter fairy, a cute boy in a big coat and hat, I colored them red and added a big button to his coat. His wings and the snowflakes have clear glass glitter on them. I found some cool silver tinsel that looks like the old kind we used to put on our tree when I was little and I added some to the top and bottom of the collage.

Photobucket

Christmas Already!?

Thursday, November 6th, 2008

Sorry I haven’t posted in awhile. something was wrong with our provider and I couldn’t get to the site for some time. Seems to be working now:)

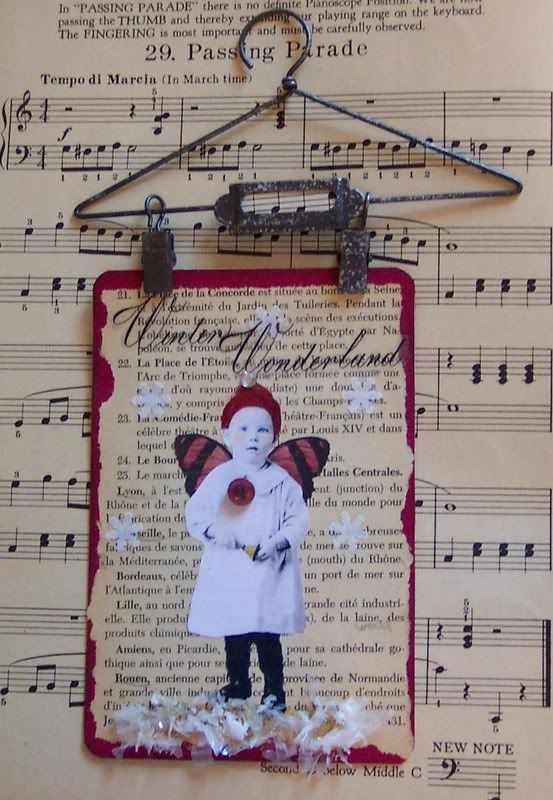
I’ve been working on Christmas items this week, made some hanging postcard collages with some cute vintage Santa images (similar to the ones from Christmas in July) and this one with a cute winter fairy:

Photobucket

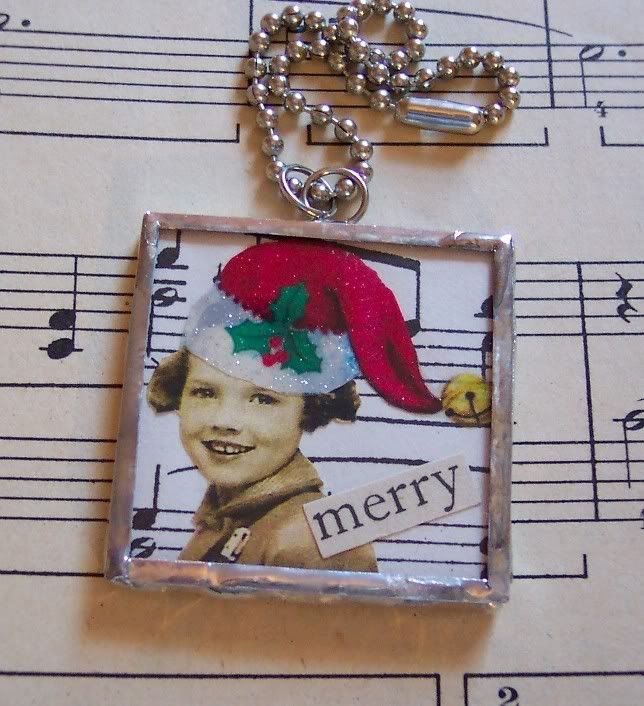
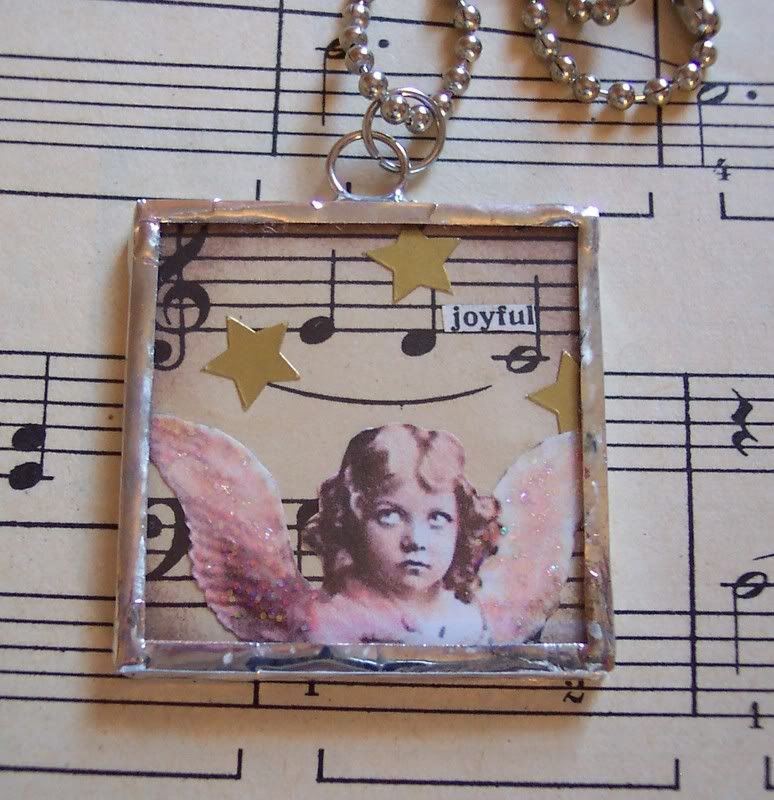
And also soldered alot of ornaments, here are two of them. The first is a cute little girl with a glittery Santa hat and it says “Merry”. The second is a pretty little angel with glittery wings and gold stars, it says “Jouful”. I got lucky recently and found a wonderful vintage book of sheet music and used pieces of it for the backgrounds on the ornaments.

Photobucket

Photobucket

Wanna Play?

Wednesday, July 23rd, 2008

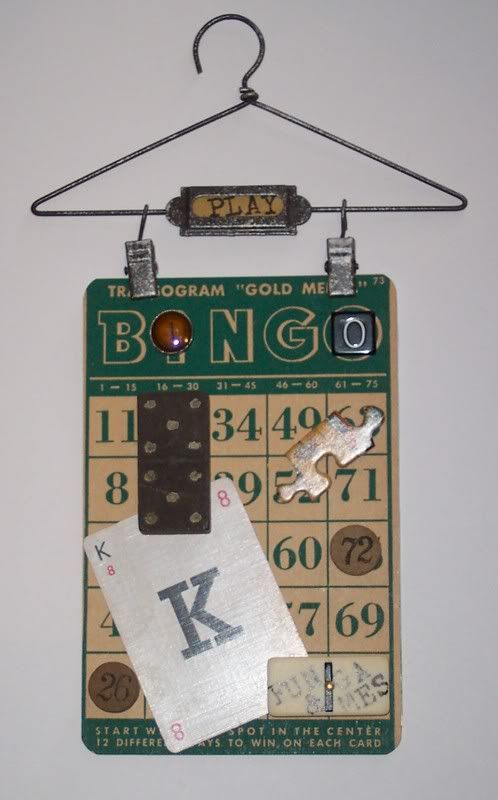
Here’s one of my collage that I did with all vintage game pieces, the background is an old BINGO card. This was a really fun and easy collage to do, I just made sure I used lots of strong adhesive to adhere everything since some of the pieces are heavy. Big glue dots, foam tape and E600 glue work really well to attach heavy items to paper.

This collage (and many others) is avialable to purchase on my new Etsy store. www.pisforpaper.etsy.com

Photobucket