Posts Tagged ‘halloween’
Tuesday, August 14th, 2012
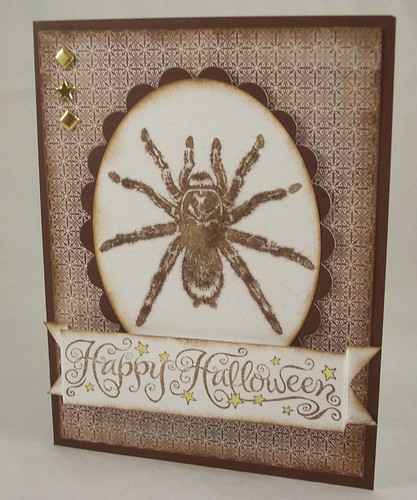
For me it’s never too early for Halloween! Last week a got a big box of amazing new Halloween stamps from Inkadinkado to review for Craft Gossip. I love every stamp I got, lots of creepy, spooky images! Here’s a couple of my first projects, I’ll have more in the upcoming weeks.
For this ATC I stamped the image twice, once in black and one in red, cutting out the words and apple from the red and layering on top of the black. I colored my witch green and added some glaze to the apple to make it shiny.

For this card I wanted to make my tarantula fuzzy so I used brown flocking powder. So I could get the stamped image and the flocking at the same time I first inked up the stamp with brown ink then inked it again with a glue pad and then stamped it. I then poured on the flocking, tapped it down then tapped off the excess. If you do this be sure to quickly wipe the colored ink from your glue pad so it won’t stain it.
Tags:, ACEO, artist trading card, ATC, card, greeting card, halloween, inkadinkado, spider, stamping, stamps, tarantula, witch
Posted in ATC, Greeting Cards and Tags | No Comments »
Saturday, October 8th, 2011
I’m really excited to be using Inkadinkado stamps all this month over on the Craft Gossip blog! I got lots of wonderful stamps to play with and will be sharing samples and having giveaways all through October. You can visit the Craft Gossip stamping blog by clicking here.
Here’s one of my favorite cards I’ve made so far. I took the collage style cameo stamp and added a witches hat from another Inkadinkado stamp set and turned her into a witch. I used non traditional colors to make it more unique.
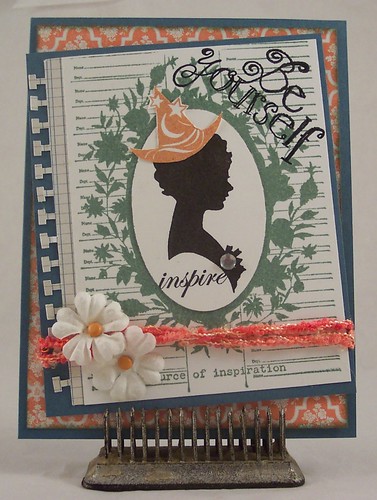
Tags:cameo, card, greeting, halloween, inkadinkado, non traditional, silhouette, stamped, stamping, stamps, witch
Posted in Greeting Cards and Tags | 2 Comments »
Wednesday, October 5th, 2011
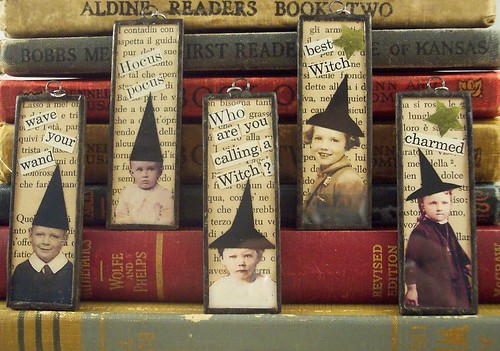
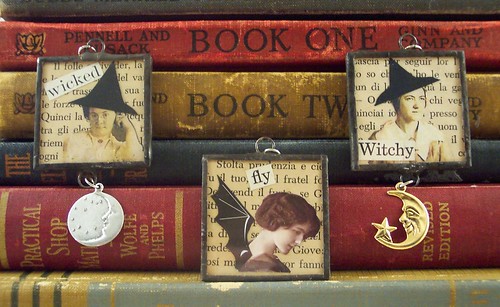
I’ve been very busy making lots of collage art soldered pendants for Halloween. I’ve done lots of witches, women and little girls, a bat fairy and some little wizards too. I think some of these would be great for Harry Potter fans also 🙂 Each hand cut collage is mounted on vintage Italian book paper and sandwiched between glass and soldered around the edges. I added black patina to the solder. These pendants are currently available here in my Etsy shop.
I adore the little grumpy witch asking “who are you calling a witch?”, I almost kept her for myself 🙂
I’m really happy with the bat fairy, I think she’s so cool.
Tags:black, boy, collage, girl, glass, halloween, holiday, jewelry, mixed media, moon, pendant, photos, solder, soldered, vintage, witch, witches, wizard
Posted in Collage Jewelry | 1 Comment »
Monday, September 26th, 2011
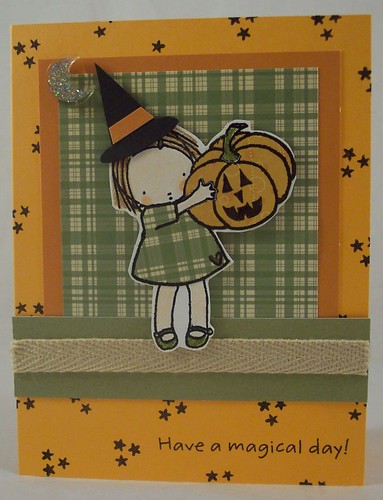
I adore the Pure Innocence stamp line from My Favorite Things, it’s one of my faves, I’d love to own them all 🙂
Here’s a card I made for the MFT weekly sketch challenge. I took the little girl holding the pumpkin and drew a jack o’ lantern face on the pumpkin and added a witches hat to her to take it from being a more fall image to Halloween. The sentiment stamp is from the Pure Innocence Fairy stamp set. The papers are from Cosmo Cricket.
Tags:card, fall, halloween, MFT, pumpkin, stamp, stamped, stamps, witch
Posted in Greeting Cards and Tags, Uncategorized | No Comments »
Friday, September 23rd, 2011
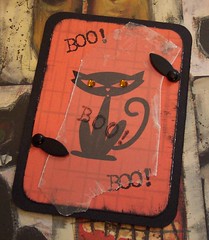
Actually I love black cats, I’ve had two in my life and loved them both so much!
Here’s a Halloween stamped ATC. The cat is stamped on pattern paper and I’ve layered a sheet of mica on top, holding it down with photo flips. I added rhinestones for his eyes.
BOO!
Tags:ACEO, art card, ATC, black, boo, cat, halloween, stamped
Posted in ATC | 1 Comment »
Thursday, September 8th, 2011
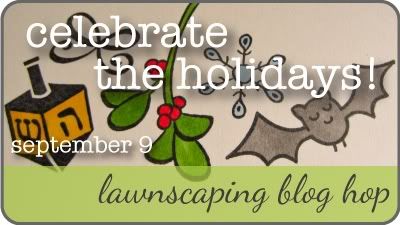
I’m so excited to be participating in the first ever Lawnscaping blog hop! Thanks for visiting! You should have come here from Danielle’s blog . The theme for the hop is Magical Holidays. The hop runs from Friday, September 9th – Sunday, September 11th. Make sure to comment on all of the blogs because there are LOTS of prizes to be won! All the details can be found on the Lawnscaping home page.

For my card I chose Halloween, my favorite holiday! I used the cat and sentiment from the Lawn Fawn Critters in the ‘Burbs set and the background “bubbles” are from the Critters of the Sea set. The label dies and witches legs are die cuts from Silhouette and the patterned paper is from Cosmo Cricket.
Next head on over to Gretchen’s blog. If you get lost along the way just go back to Lawnscaping for a complete lists of blogs. Thanks for stopping by and Happy Holidays!!
-Heather H
Tags:blog hop, card, cat, greeting, halloween, lawn fawn, lawnscaping, stamped, stamping, stamps, witch
Posted in Greeting Cards and Tags | 93 Comments »
Thursday, September 8th, 2011
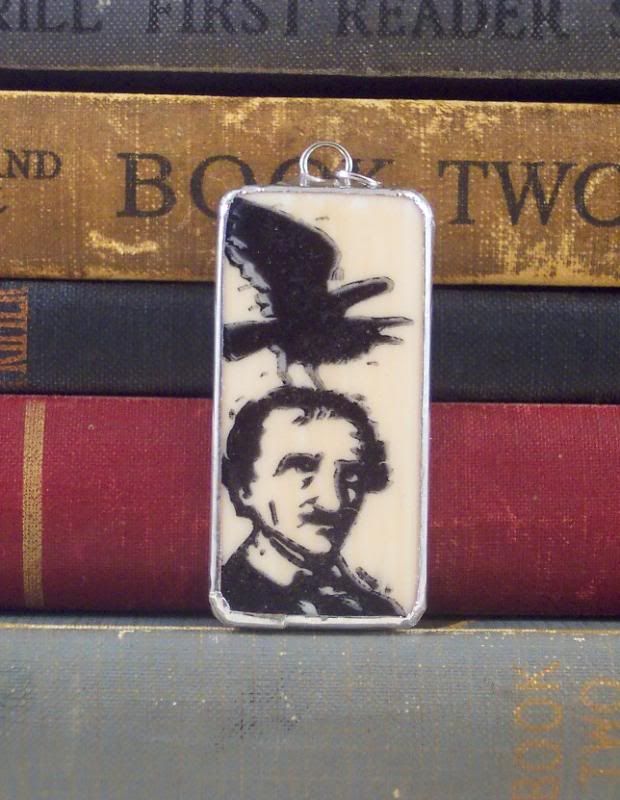
I’m listing some new domino charm jewelry in my Etsy shop this week. And right now I’m working on lots of great new collage art Halloween soldered glass pendants. There are already some in the shop but I’ll listing a lot more in the next week or so, so be sure to check back 🙂
I love this Poe charm, great for Halloween or anyone who loves to read.
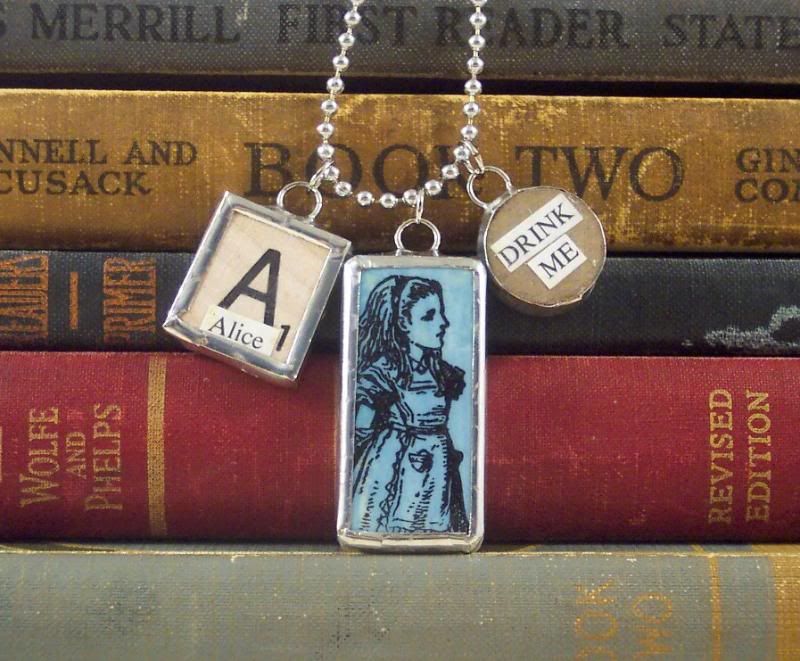
And of course Alice is always one of my faves. In addition to the domino charm there are also wooden game tiles with vintage text.
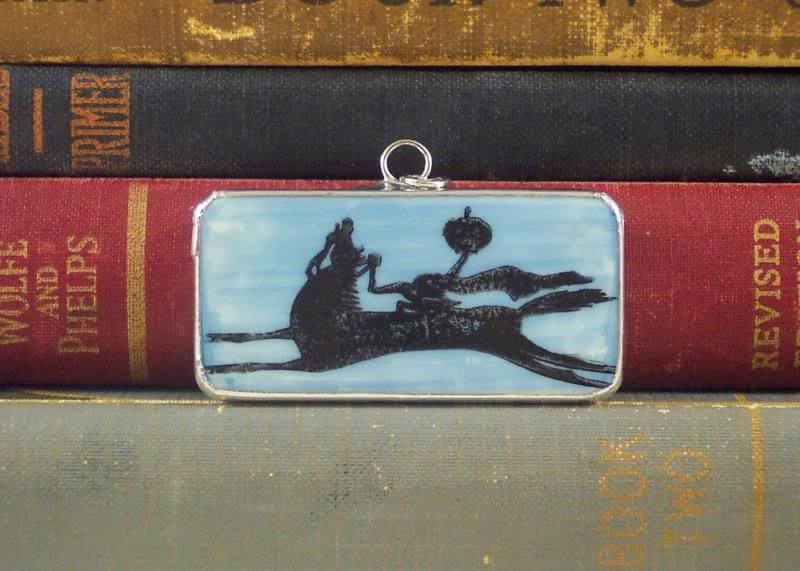
This one is nice and creepy for Halloween, the headless horseman. “Ichabod………..”
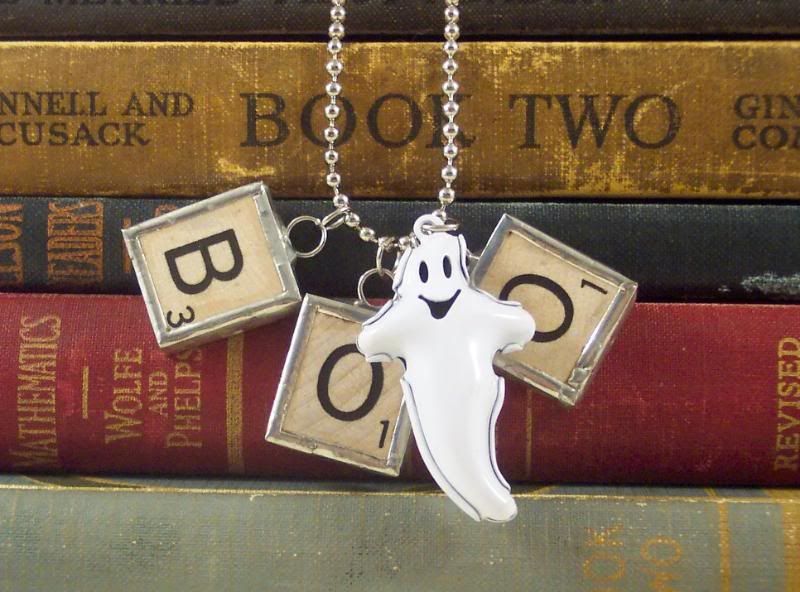
And this cute one has scrabble tiles that spell out “BOO” and a cute ghost shaped jingle bell.
Click here to visit my shop.
Tags:, alice, altered, charm, charms, domino, dominoes, etsy, game pieces, ghost book, halloween, headless horseman, jewelry, necklace, pendant, poe, scrabble tiles, wonderland
Posted in Collage Jewelry | No Comments »
Thursday, October 14th, 2010
I’m not really sure what the official term for these accordion folded paper embellishments are that are popping up all over on cards and scrapbook pages but I’ll go with rosette 🙂 They make a cool dimensional addition to any card or scrapbook page, you could also glue two back to back with a ribbon hanger and make a fun ornament.
Here’s what you need:
one 1 1/2″ x 11 1/2″ strip of patterned paper
two 1 1/2″ punched cardstock circles
strong adhesive (I used red line tape)
scoring board with bone folder ( I used my Martha Stewart board)
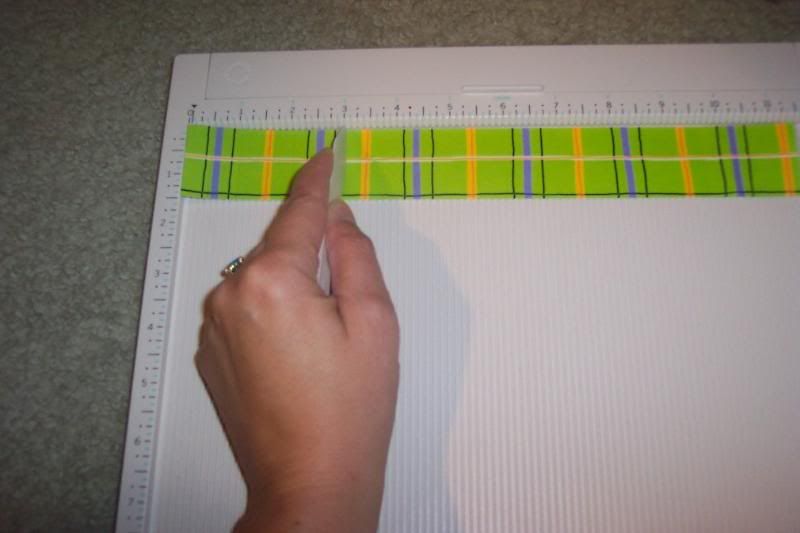
Start by scoring your patterned paper every 1/2″:
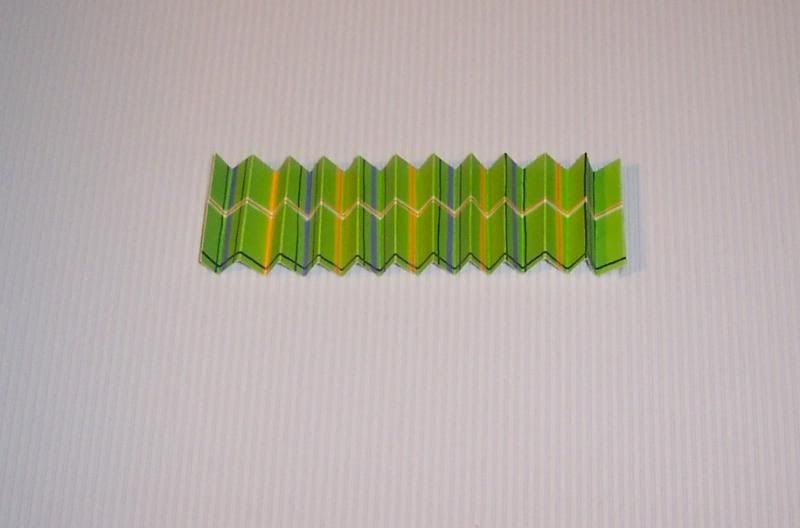
and then accordion fold it back and forth:
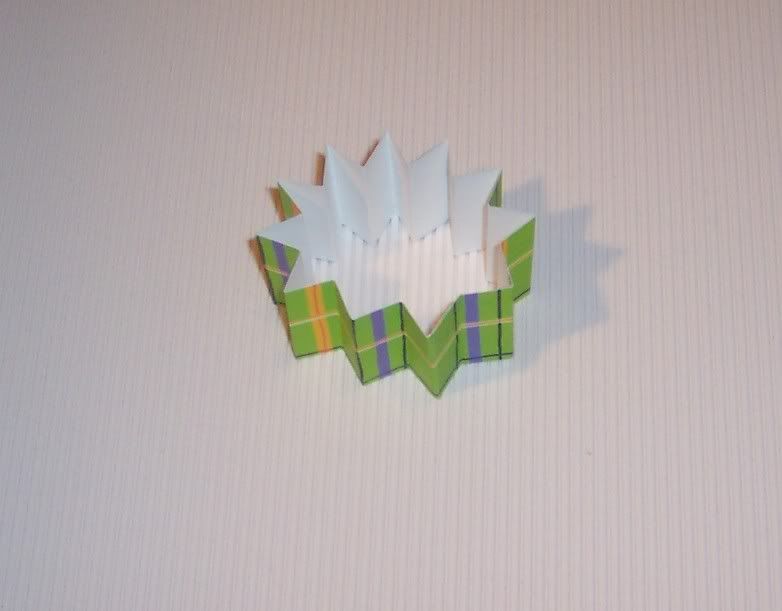
using a strong adhesive tape the two ends of your patterned paper to form a circle:
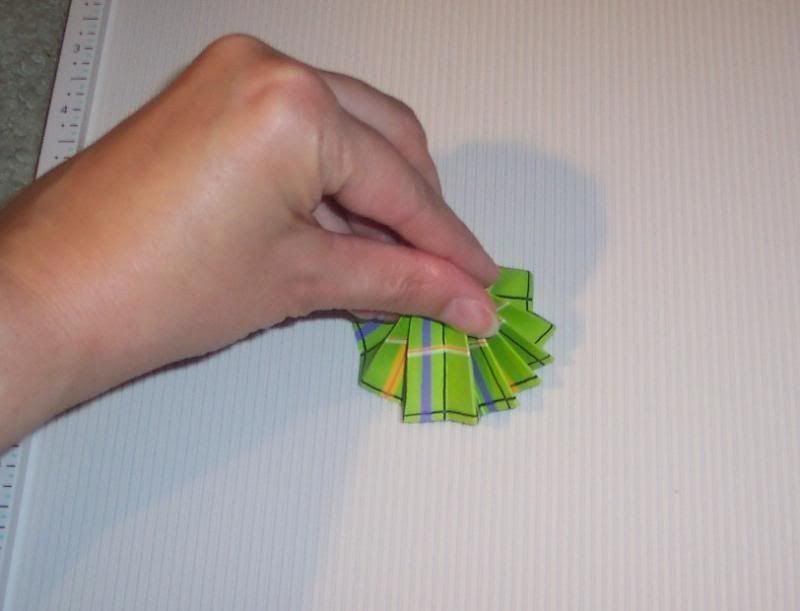
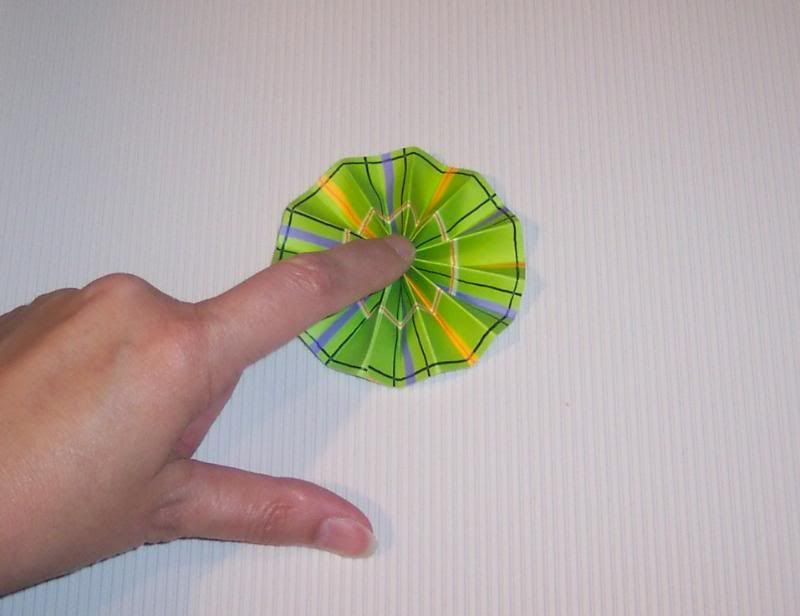
gather the circle, pinching the top and push downwards to flatten it out:
on the back side adhere one circle with strong adhesive:
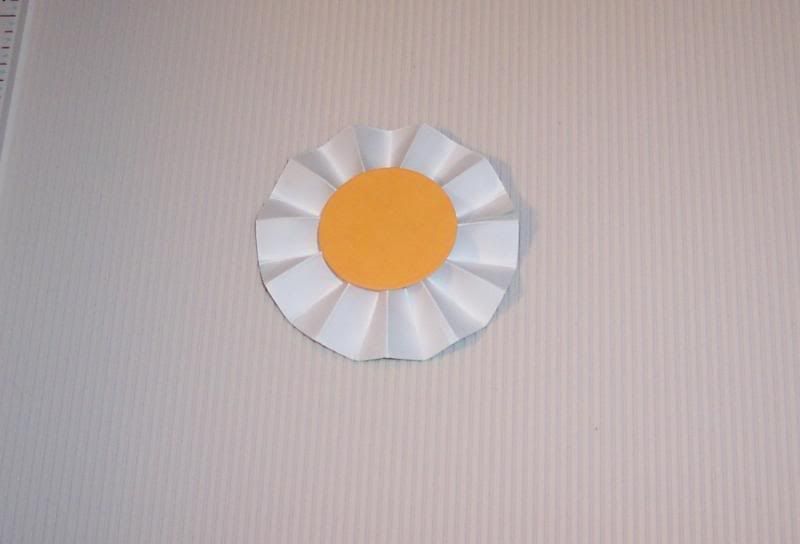
on the front adhere the other circle and any other layers you might want to add to decorate the front:
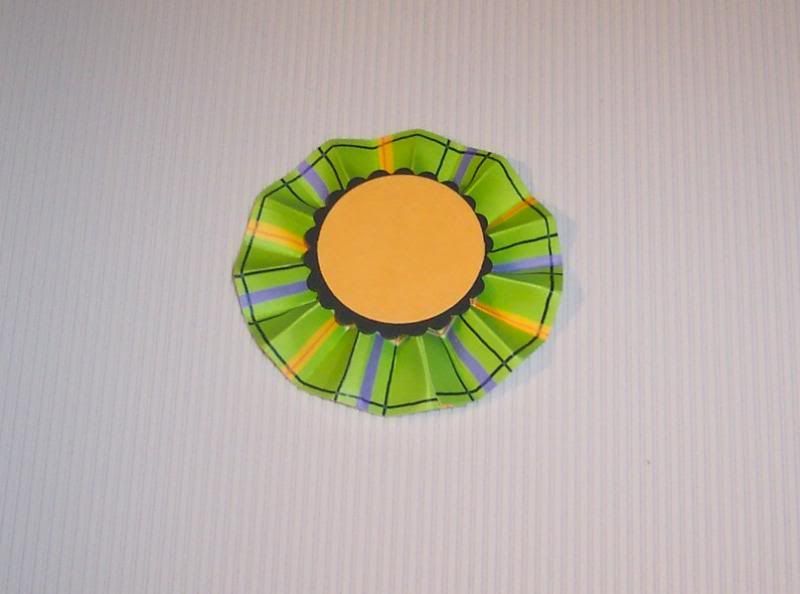
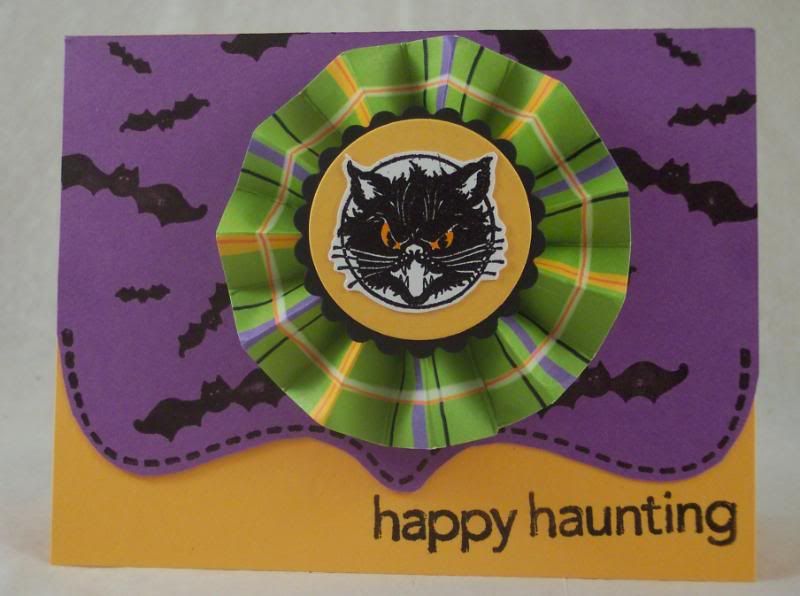
I also added a fun retro looking cat stamp on my circle layers.
Here’s what it looks like from the side:
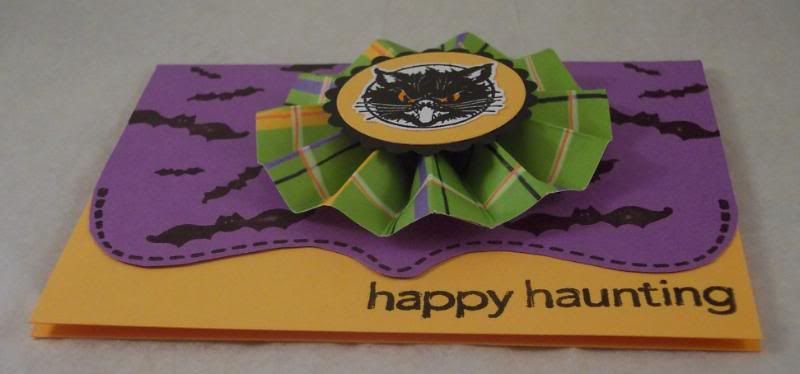
depending on what papers and stamps you use these can be made for any occasion.
The cat stamp I used is from PSX, all others are from Close To My Heart.
Tags:, accordion embellishment, card, cat, embellishment, halloween, rosette, stamped, stamping
Posted in Greeting Cards and Tags | 4 Comments »
Thursday, October 1st, 2009
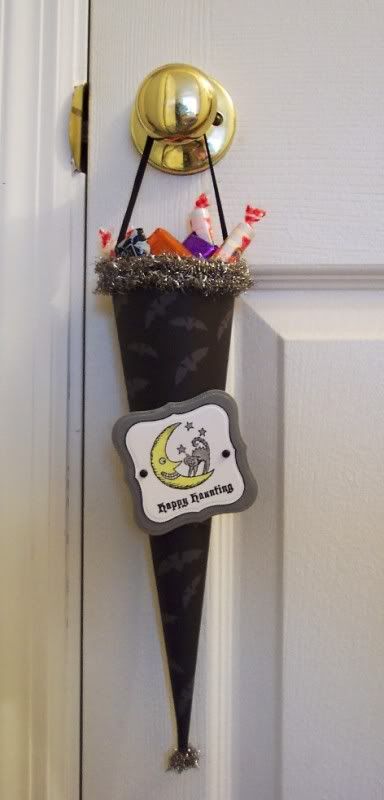
I thought it would be fun to share the instructions for a project I just finished. It’s a paper Tussy Mussy for Halloween. Tussy Mussy’s are a Victorian era hanging cone usually for flowers but this one holds candy.
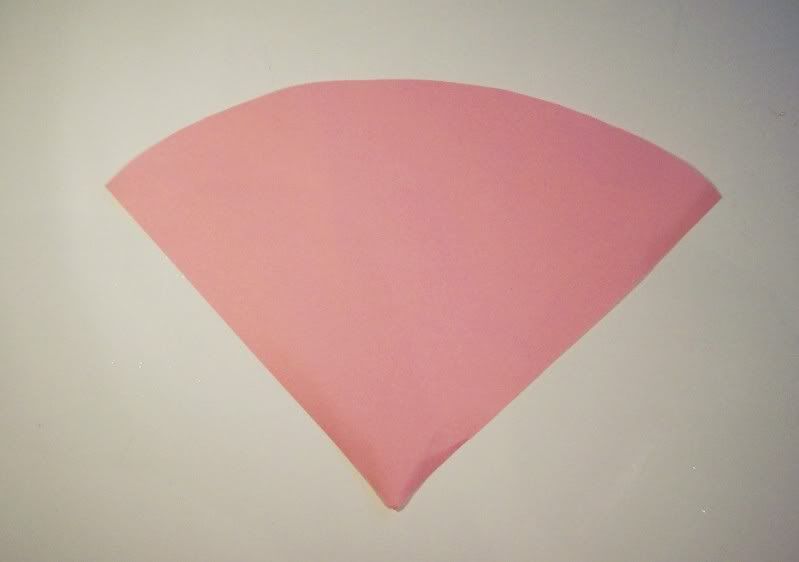
Start with a 12×12 piece of pattern paper or cardstock, mine has bats on it, flip it to the back side and turn it so one corner faces towards you and with a pencil draw a half circle from the left corner to the right corner then cut along your lines. Here’s a picture of what it should look like.
Next apply adhesive down one long side of the back of the cut paper and roll the other side toward the adhesive forming a cone shape.
Next apply adhesive around the top outside opening of the cone and wrap tinsel garland around, I wrapped twice.
Cut a small piece of the tinsel garland and roll it into a ball, adhere it to the bottom of the cone with a strong adhesive.
Next attach a 7″ long piece of ribbon inside the top of the cone, use a strong adhesive or brads to attach it.
Next add a stamped decoration or tag to the front, I used my Cuttlebug and Spellbinders Tag#1 to die cut and emboss a grey tag and a smaller white tag. I stamped a cute Moon and Kitty stamp on the white tag and colored it with glitter gel pens and edged it with a black marker, then layered it onto the grey tag and colored around the edges of the grey tag with a glitter pen too. I also added brads to the tag for some embellishment and then attached it to the cone with foam dots.

Fill with candy and hang it on someone specials door!
If you make one too please send me a link!
Tags:candy, cone, halloween, how to, instructions, paper, project, tussy mussy
Posted in 3D and Assemblage, Hanging Collage, Misc. Collage | 2 Comments »
