
Over on Craft Gossip I’ve shared a product review for some new items from Imagine Crafts and I wanted to share that project along with some instructions and step by step photos of how I made my project.

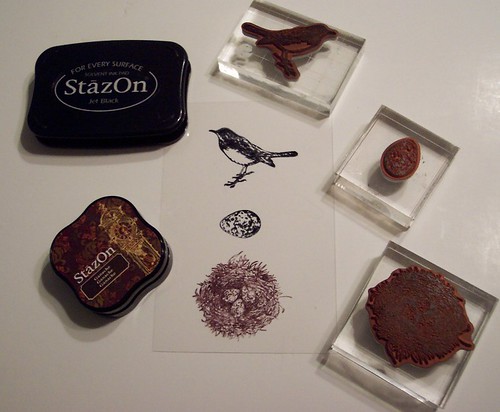
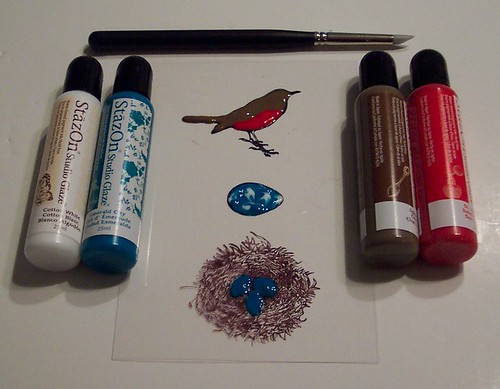
I started out using Black and Brown Staz On ink pads to stamp my bird, egg and nest onto clear acetate. I turned the acetate over and used the new Staz On Studio Glazes (in Emerald City, St. Valentine and Cotton White) to color my images. After letting the glaze dry it becomes shiny and a little transparent and on a clear service it gives an amazing stained glass effect! If you color outside of the edges you can push the glaze back using the sponge tip tools , these tools also work well for swirling colors, like I did with the blue and white on the egg. Next I attached my stamped acetate to a piece of sticky back canvas paper and cardstock using brads.


Next onto a canvas board I swiped streaks using the Blue Hawaii Staz On Midi ink pad and Broze Delicata Ink and then using one of the Palette knife tools I spread streaks of Bronze Metallic Creative Medium. After that dried I also sprayed some white Irresisitable ink spray.
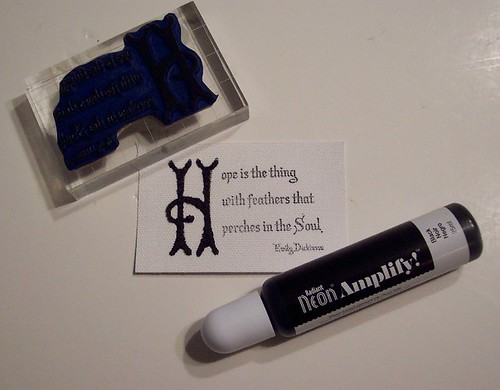
Lastly I used Black Staz On to stamp my quote for Emily Dickinson onto canvas paper and used the Black Radiant Neon Amplify to go over the large letter H. Amplify comes in bright neon colors as well as black and white and when heated with a heat tool it puffs up for texture and dimension. Then I adhered my words to my canvas and was done. I love how it turned out!
-Heather
Tags: , art, bird, canvas, collage, egg, emily dickinson, Imagine crafts, mixed media, nest, product review, project, tutorial
[…] And if you’d like to see step by step photos of how I made this project you can visit my personal blog P is for Paper. […]