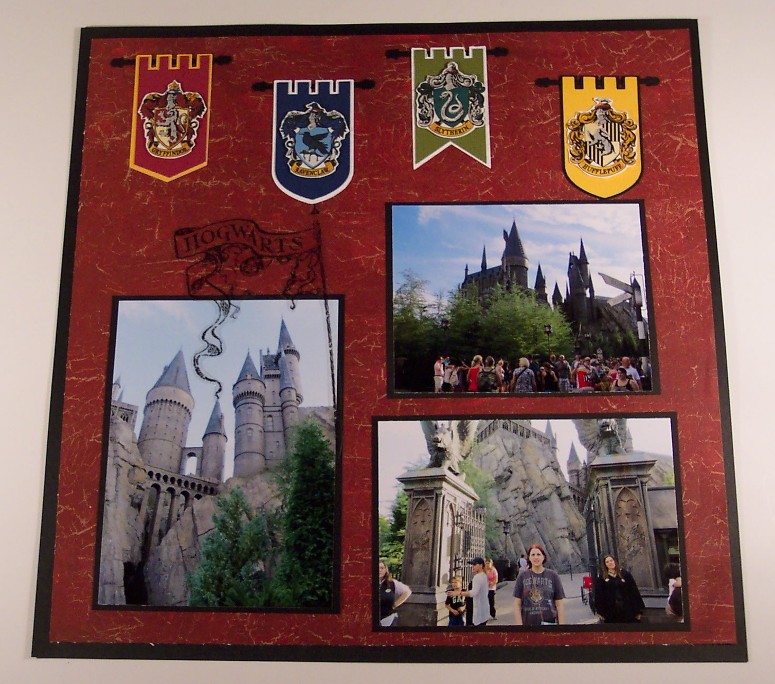
Happy Birthday Harry Potter! I’m a huge Harry Potter fan and was so excited when my husband and I were able to go to the Wizarding World of Harry Potter at Universal Studios in FL. We’ve actually been twice now and want to go back 🙂 I’ve made a scrapbook of our first trip and filmed a video of the pages, click here to check it out.
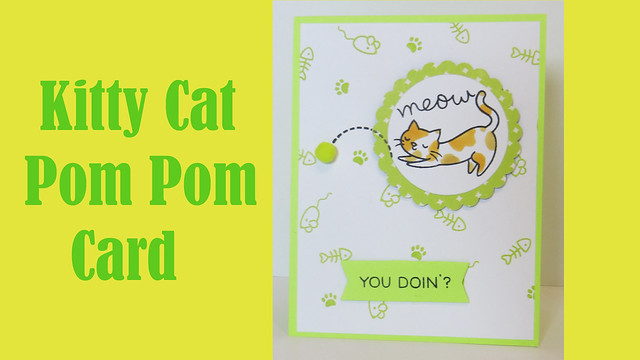
I’ve got another card tutorial video up at my Youtube channel. This cute Kitty Cat Pom Pom card is made with stamps from Lawn Fawn. Click here to watch.
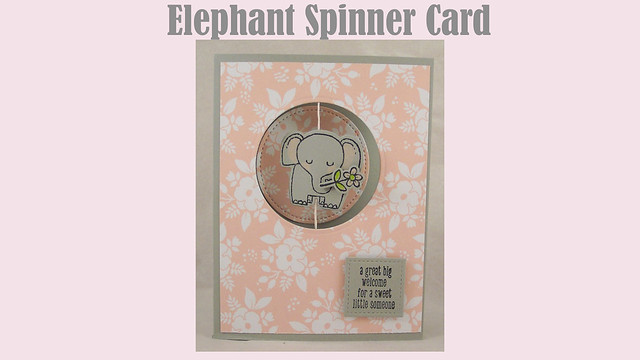
I’m back with another Youtube video tutorial, making videos is addicting! This time I’ll show you how to make an adorable elephant spinner card, perfect for a new baby. Click here to watch.
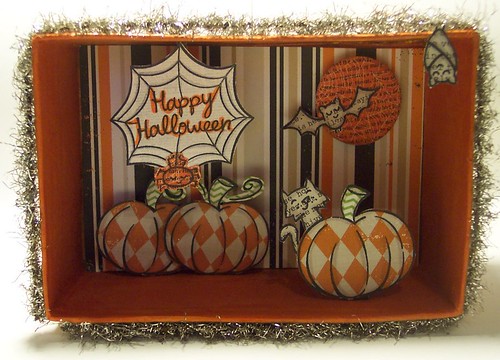
I love to incorporate stamping with my mixed media collages. Here’s some more info on how I made these fun Halloween wall decorations.
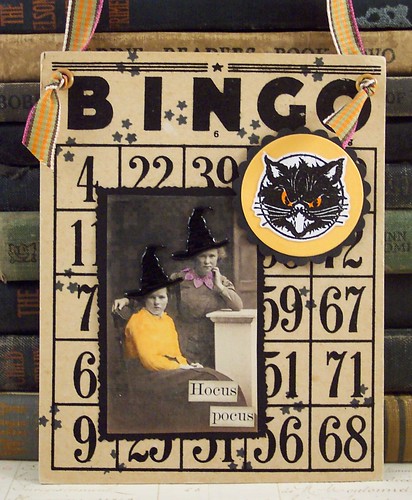
Using a vintage BINGO card as a base I stamped tiny stars all over in black ink. I made a copy of a vintage photo and tinted the girls clothes with alcohol markers, added witch hat brads to their heads and also some vintage book text. I layered this onto black cardstock trimmed with deckle edge scissors and adhered it to my bingo card. For the medallion I layered a plain punched circle from yellow cardstock onto a scalloped circle from black cardstock and on top of that I adhered a black cat which I stamped onto white cardstock, embossed using black embossing powder and cut out. To the top corners of the bingo card I added some large eyelets and tied some ribbon to hang it from.
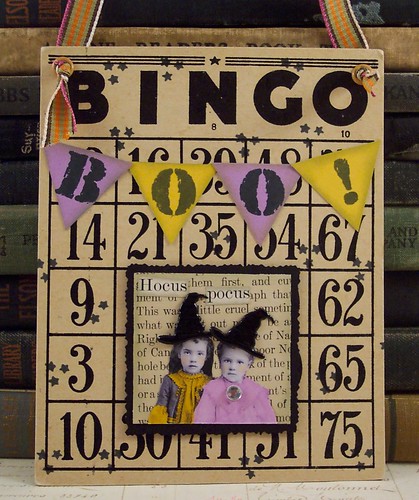
For this card I did similar treatments on the photo, card and hanger but instead of the medallion I added some triangles cut from purple and yellow cardstocks and added stamped letters to each flag to spell out “BOO!”.
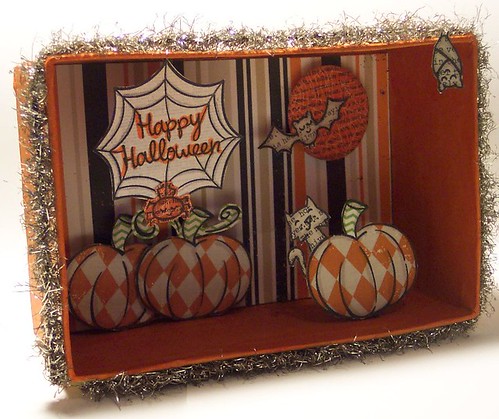
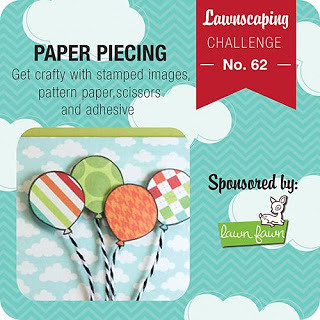
This time around on the Lawnscaping Challenge blog it’s paper piecing. For me it’s never too early to start thinking about Halloween so I decided to make a Halloween Shadow box using 3 different Lawn Fawn sets, Hebbie Jebbies, Critters in the ‘Burbs and Harvest Season. I can’t wait until Halloween so I can put it on my mantle!
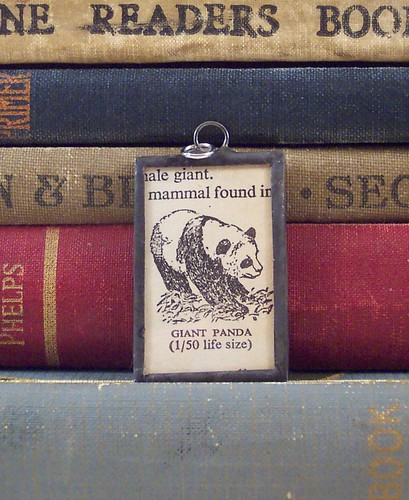
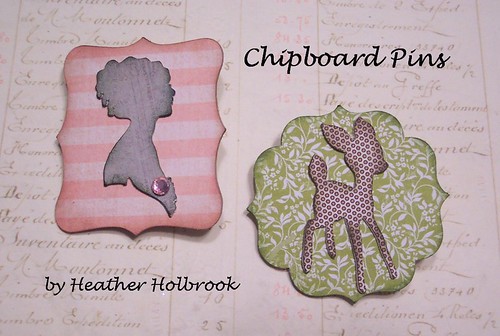
I’ve seen a lot of pretty jewelry pieces lately made with layered die cut wood and thought I could do the same using the chipboard. So I cut out my shapes along with pattern papers in the same shapes and sizes and layered them, using a glue stick to adhere them together. I used two layers of the chipboard for the bases just so they were nice and sturdy. I added a little ink to the edges for even more dimension and then glued on pin backs. I think these turned out really fun.