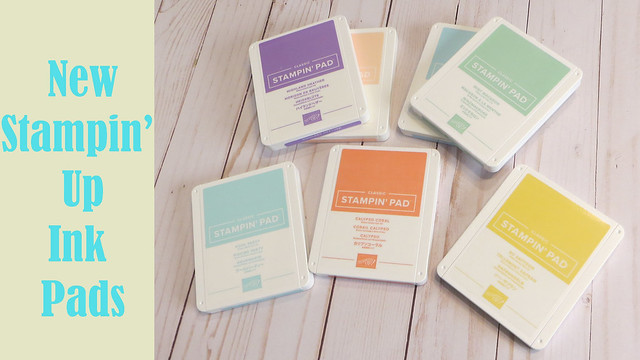
In my latest video I’ll show you all the features and some of the new colors of Stampin’ Up’s new ink pad design. I also have a bonus card tutorial with an ink pad background technique. Click here to watch it on Youtube.
-Heather

In my latest video I’ll show you all the features and some of the new colors of Stampin’ Up’s new ink pad design. I also have a bonus card tutorial with an ink pad background technique. Click here to watch it on Youtube.
-Heather
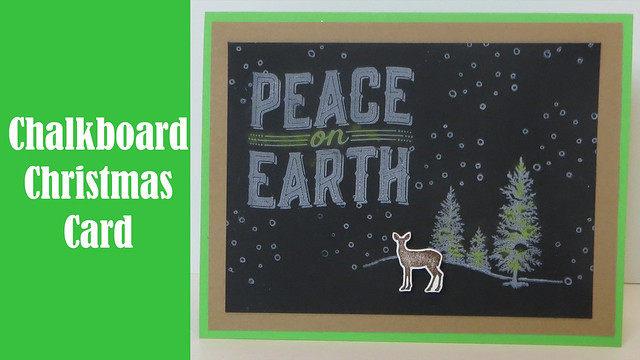
I’ve got a quick and easy chalkboard Christmas card tutorial for you over on my Youtube channel. click here to check it out.
-Heather
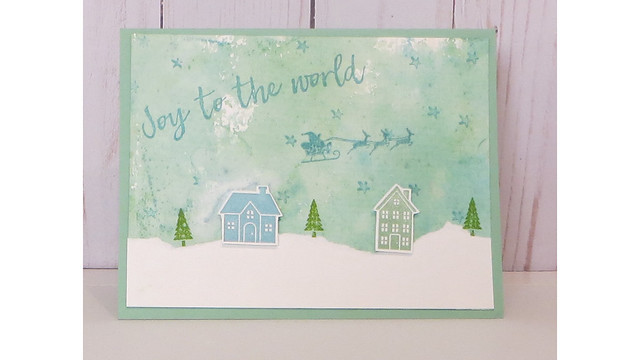
I’m back with another holiday card. This one is a quick and easy shaker card using more new products from the Stampin’ Up holiday catalog.

Click here to visit my Youtube channel for direction on this Winter Forest Shaker card.
-Heather
Winter is finally here, it was 17 degrees yesterday when I woke up, brrrr!
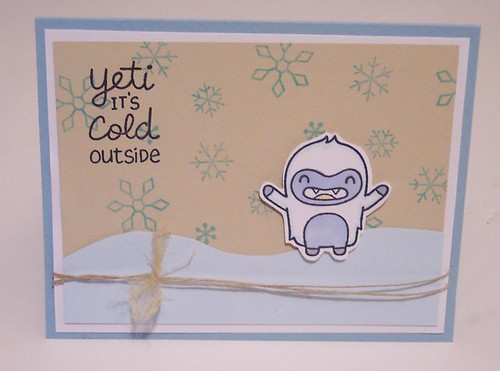
To get in the mood for this frigid weather I made this adorable, abominable snowman card using stamps from Lawn Fawn.
Here’s how…..
Supplies- Light blue, pale blue, tan and white cardstocks; Lawn Fawn” Yeti” and “Critters in the Snow” (snowflakes) stamp sets; blue and black inks, jute string, alcohol markers, foam tape
– First cut a piece of light blue cardstock in half and fold for the card base
-Next cut a piece of white cardstock to 5 1/4″ x 4″ and cut a pale blue piece to 5″ long and using your scissors cut a wave shape across the top
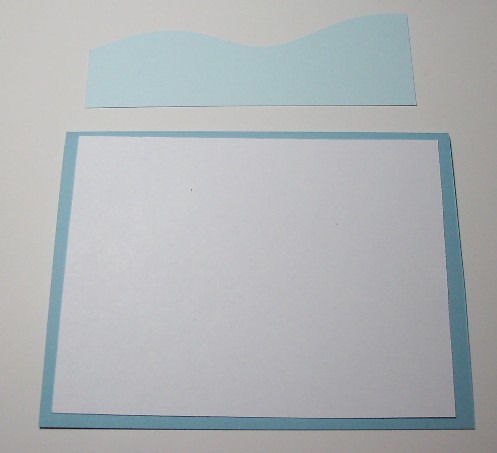
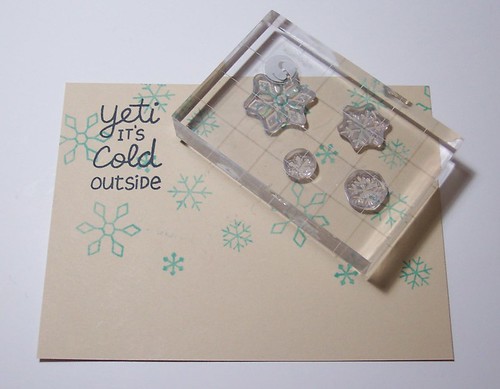
– Next trim a tan piece of cardstock to 5″ x 3 3/4″ and randomly stamp snowflakes with blue ink. Tip: Place several clear snowflake stamps onto the same block to make stamping quicker. Next stamp the words in black.
– Adhere the tan piece of cardstock on top of the white then adhere the blue wave piece, wrap a 24″ piece of hemp string around the bottom, tie in a knot and fray the edges. Adhere this to the cardstock base.
– On white cardstock using black ink stamp the yeti and color with alcohol markers and cut out. Mount him to your card using foam tape.

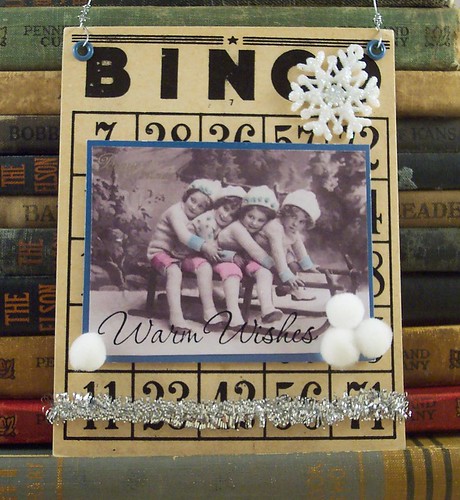
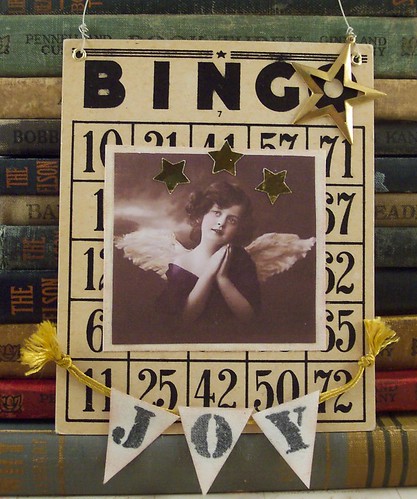
It’s beginning to look a lot like Christmas! My Etsy shop is filled with holiday items, soldered pendants, soldered ornaments, felt ornaments, collages and ATC’s!
Here are a couple of collage wall hanging decorations on vintage Bingo Cards.
Now that Halloween is over it’s time to start working on holiday cards! My next card making/stamp class is coming up on Nov 9th, 10am at The Raintree Gallery in Versailles KY, $20 for 5 cards, 1 Thanksgiving and 4 Holiday. Call the gallery to sign up 859-873-8822. Here’s one of the cards we’ll be making:
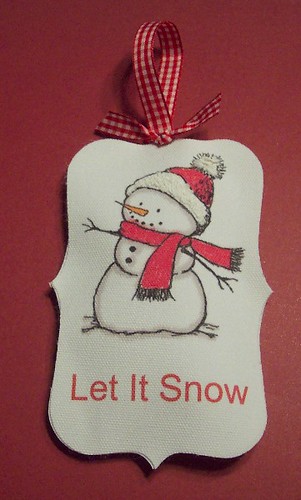
Is it too early for holiday projects? I just did a review over on Craft Gossip for the Silhouette Printable Canvas and thought it would be perfect for a tree ornament. I printed a digital stamp onto the canvas, coloring it with markers and adding some white puffy paint to his hat. I die cut the canvas twice with a label shape, since the canvas is sticky I was able to sandwich the pieces together with some batting in the middle to make a cute puffy fabric ornament.

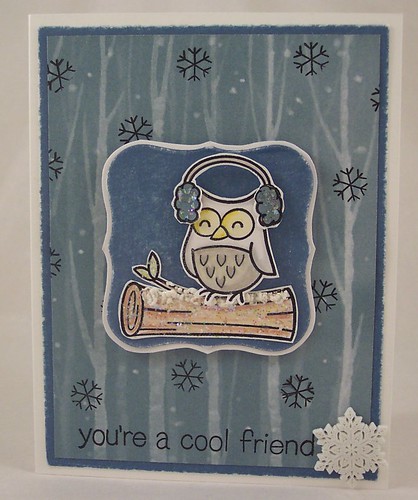
It seems strange to be making a winter card right now, this has got to be one of the mildest winters in Ky I can ever remember! But the challenge this time over at Lawnscaping is Winter Wonderland so I broke out my Making Frosty Friends and Critters in the Forest sets. This cute little snowy owl is sporting earmuffs and sitting on a tree stump that’s covered in liquid applique snow and glitter. The background paper is from Close To My Heart and I thought it went perfectly with the stamped images.
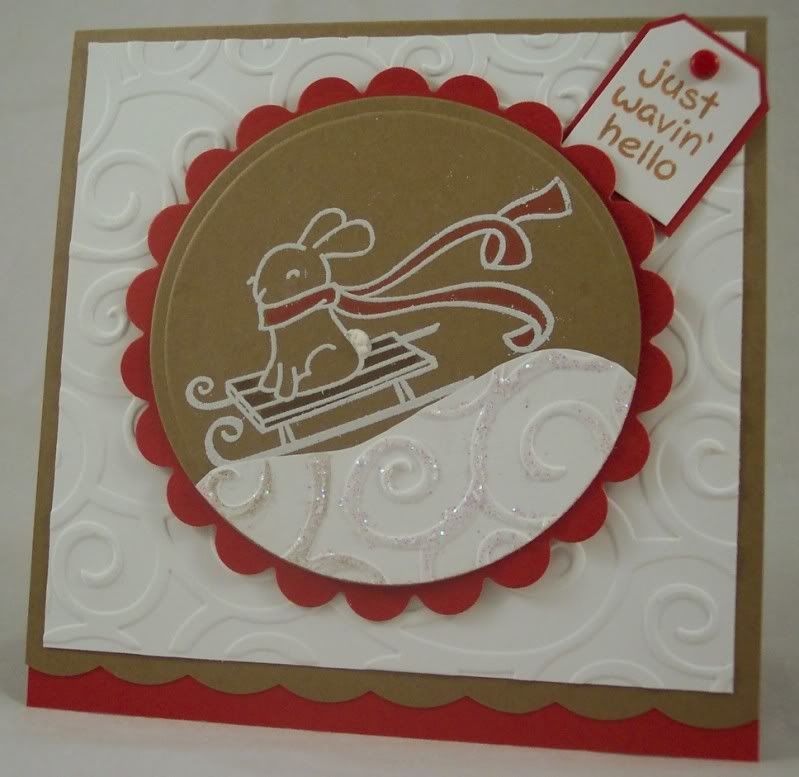
Here’s my card for the latest Lawnscaping challenge, the theme this time is embossing.
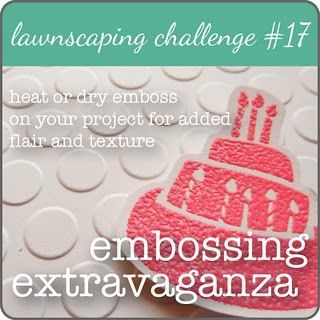
I chose to do both wet and dry embossing on my card. I embossed the bunny from Lawn Fawn’s Winter Bunny in white on craft cardstock, I love this look, it really pops. I added some subtle color to his scarf and the sled with markers. I also heat embossed some liquid applique on his tail for a little puff. I used the swirl embossing folder from Cuttlebug for the snow and my background paper, adding glitter to the embossed swirl on the snow. The sentiment is from the Lawn Fawn Critters of the Sea set.
Are you ready for the holidays? The house is decorated, I’ve gotten all my gifts bought and wrapped, and my cards made and mailed, I think I’m ready! I wanted to share a few of my holiday cards with you today.
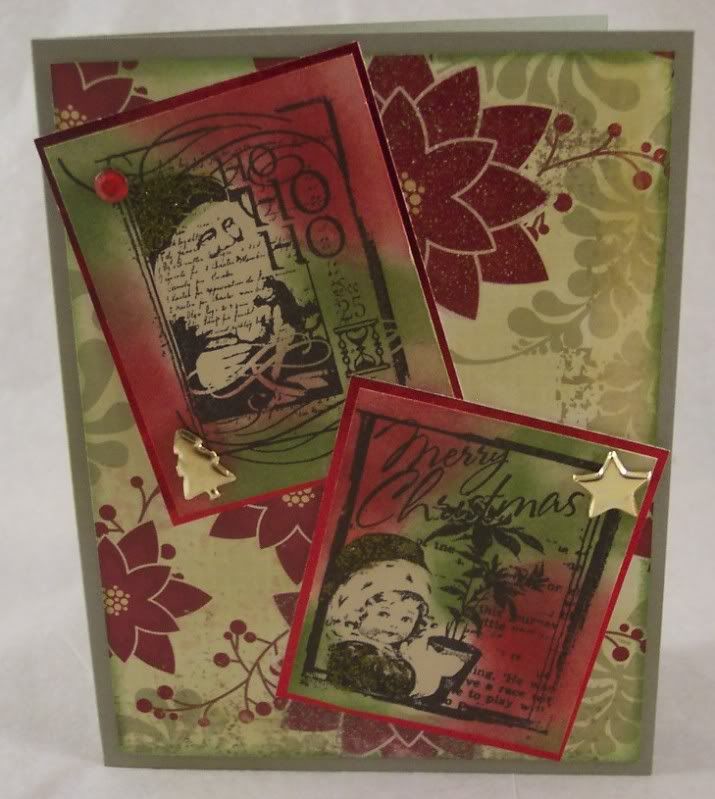
This first one was inspired by Tim Holtz (I love his 12 Tags of Christmas each year!) I stamped the image (from Recollections) with black Staz-On ink and then took cosmetic sponges to rub the red and green inks over the images, blending as I went. I added some sparkle with Tim’s Distressed Stickles too.
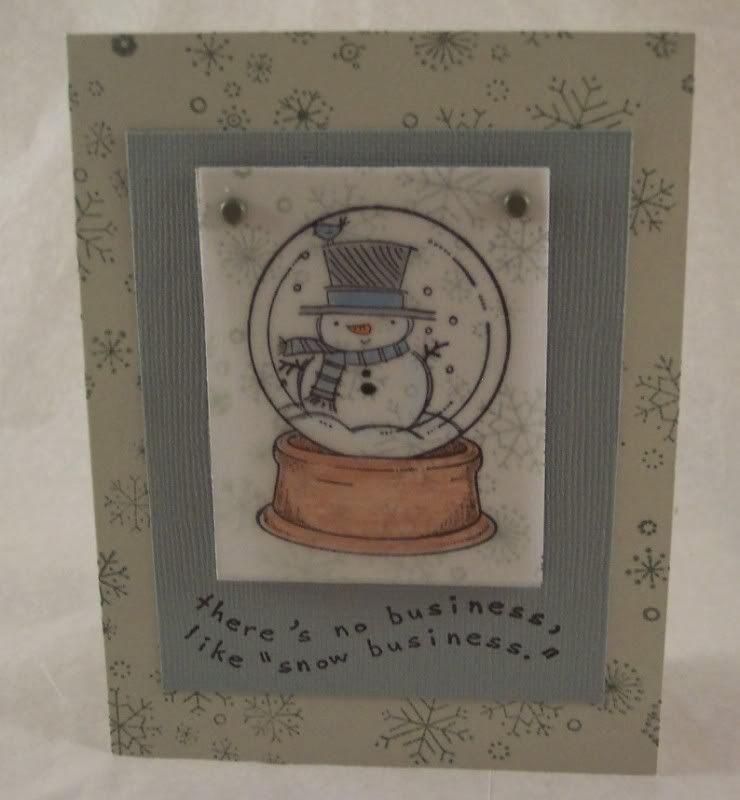
This next one I stamped the snow globe and snowman (from Inkadinkado) on vellum and colored on the backside of the vellum with colored pencils, it gives it a nice soft look.
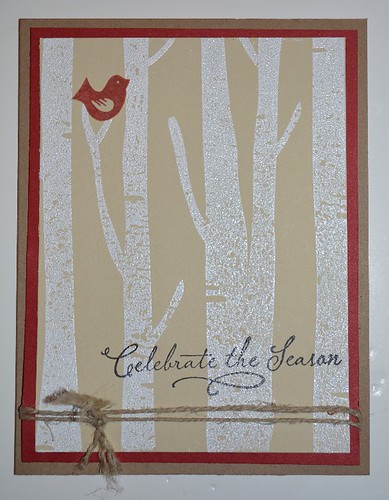
This cute little scene was put together from stamps from a few different companies, the deer is Colorbox, the snowflakes and text from Inkdinkado, the tree and bird from Close To My Heart. The deer was kinda of plain so I used a black marker to add his eyes and spots, it helped give him more dimension. The berries on the tree were made with the blunt end of a red marker and I added Stickles to the branches and on the ground around the tree and deer for lots of sparkle.

I hope you all have a wonderful holiday season!!
-Heather