I’ve got another video tutorial up on my Youtube channel. This time it’s a cute floating ghost acetate card for Halloween using product from A Muse Studio. Click here to watch it.
-Heather

I’ve got another video tutorial up on my Youtube channel. This time it’s a cute floating ghost acetate card for Halloween using product from A Muse Studio. Click here to watch it.
-Heather
Halloween time is almost here, it’s my favorite time of year! I’ve added a hand stamped tag tied with baker’s twine to these small plastic test tube like treat tubes. They’re a fun and different way to give out candy or small treats this year.
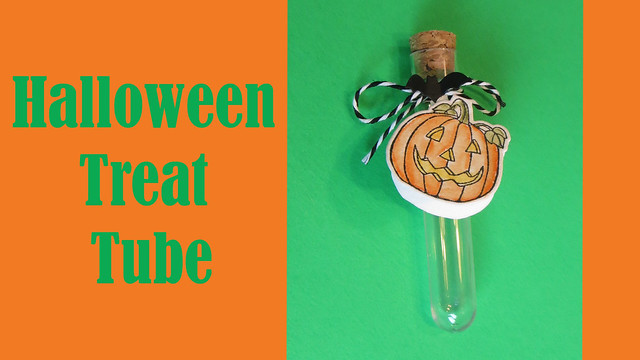
Click here to watch my Youtube project tutorial.
-Heather
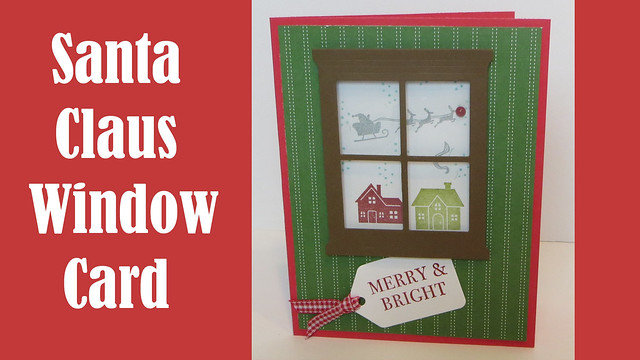
I’ve got another card tutorial over on Youtube with some more new Stampin’ Up Holiday products. Click here to check out this fun Santa Window card.
-Heather
I know it’s a bit early for some to start thinking about the holidays but for stampers, card makers and crafters this is the time companies start releasing their new holiday products and it’s never too early to start working on your holiday crafts.
I’m really excited to have the chance to preview a new stamp and die set from Stampin’ Up. The Carols of Christmas bundle has a lovely stamp set with a coordinating die set. If you’d like to read more about you can click here and can hop over to Craft Gossip and read the article I wrote.
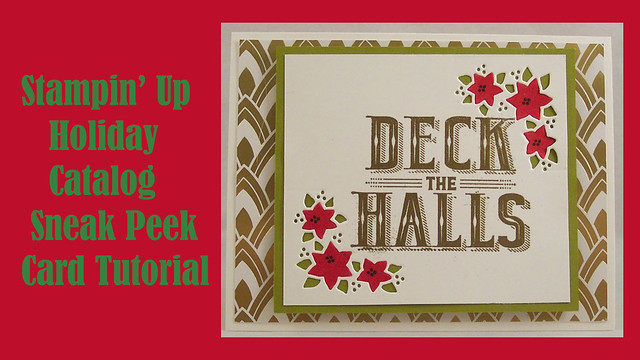
I’ve also got a card tutorial up on my Youtube channel and you can watch that by clicking here. Happy Holidays!? 🙂
-Heather
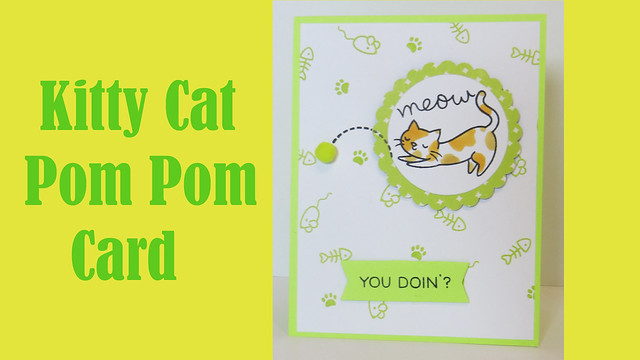
I’ve got another card tutorial video up at my Youtube channel. This cute Kitty Cat Pom Pom card is made with stamps from Lawn Fawn. Click here to watch.
-Heather
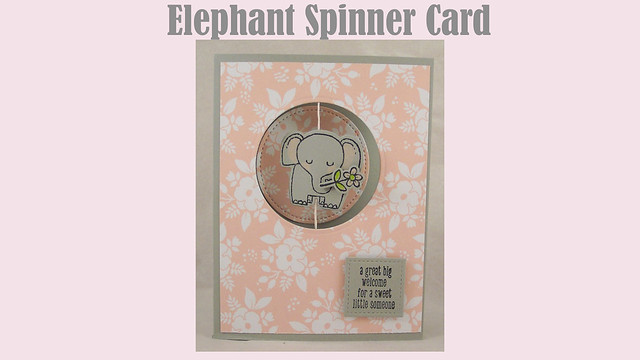
I’m back with another Youtube video tutorial, making videos is addicting! This time I’ll show you how to make an adorable elephant spinner card, perfect for a new baby. Click here to watch.
-Heather
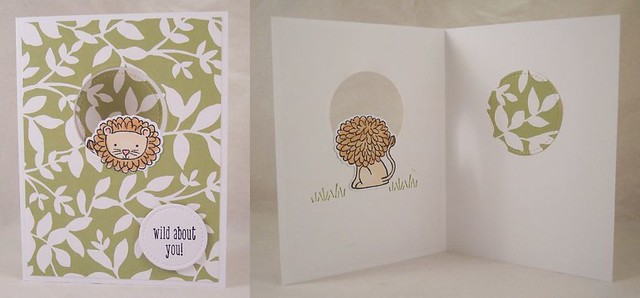
I’ve tried my hand at a video tutorial! Check out my card project for a cute lion front and back card using new products from Stampin’ Up. Hope you enjoy it, click here to watch.
-Heather
Over on Craft Gossip I’ve shared a product review for some new items from Imagine Crafts and I wanted to share that project along with some instructions and step by step photos of how I made my project.

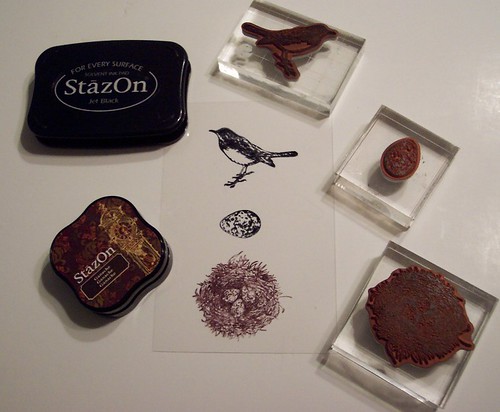
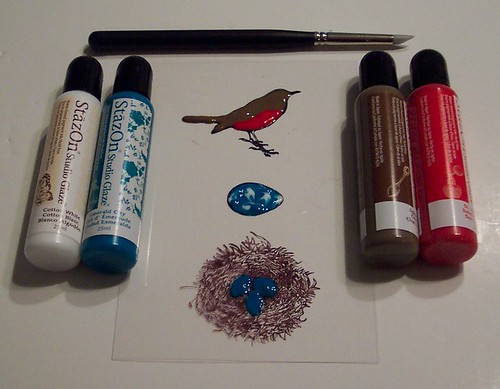
I started out using Black and Brown Staz On ink pads to stamp my bird, egg and nest onto clear acetate. I turned the acetate over and used the new Staz On Studio Glazes (in Emerald City, St. Valentine and Cotton White) to color my images. After letting the glaze dry it becomes shiny and a little transparent and on a clear service it gives an amazing stained glass effect! If you color outside of the edges you can push the glaze back using the sponge tip tools , these tools also work well for swirling colors, like I did with the blue and white on the egg. Next I attached my stamped acetate to a piece of sticky back canvas paper and cardstock using brads.


Next onto a canvas board I swiped streaks using the Blue Hawaii Staz On Midi ink pad and Broze Delicata Ink and then using one of the Palette knife tools I spread streaks of Bronze Metallic Creative Medium. After that dried I also sprayed some white Irresisitable ink spray.
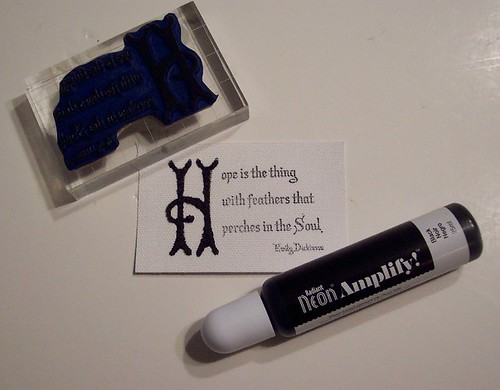
Lastly I used Black Staz On to stamp my quote for Emily Dickinson onto canvas paper and used the Black Radiant Neon Amplify to go over the large letter H. Amplify comes in bright neon colors as well as black and white and when heated with a heat tool it puffs up for texture and dimension. Then I adhered my words to my canvas and was done. I love how it turned out!
-Heather

The current challenge at the Lawnscaping Challenge blog is dusting off supplies you haven’t used in awhile. For my card I got out some yellow flocking powder which I haven’t used in ages and also some decorative edged scissors, which I also just don’t pick up as much any more, even though I probably have 8-10 pairs. I used stamps from the Lawn Fawn “Happy Easter” set, adding flocking to the little chicks, now they’re yellow and fuzzy! 🙂
To make this card:
cut a piece of green cardstock in half and fold for the card base
trim a floral pattern paper to 4″ x 5 1/4″ and adhere to card front
trim white cardstock to 5 1/2″ x 1″, line up flowers, eggs and chicks stamps on one long clear block and stamp twice with black ink
color all images exept chicks with markers
using a glue pen add glue to chicks and cover with yellow flocking powder, lightly press down and then tap off excess, let dry
cut blue cardstock to 5 1/2″ and cut one long edge with decorative scalloped scissors, punch small holes in each scallop
adhere stamped piece to blue piece and adhere to card front
stamp sentiment in black on card front